When you have newly purchased a Blink camera, you may be wondering how to set it up, but it is easier than you think. Blink cameras are also easy to use and therefore do not require you to have technical expertise to operate the device.
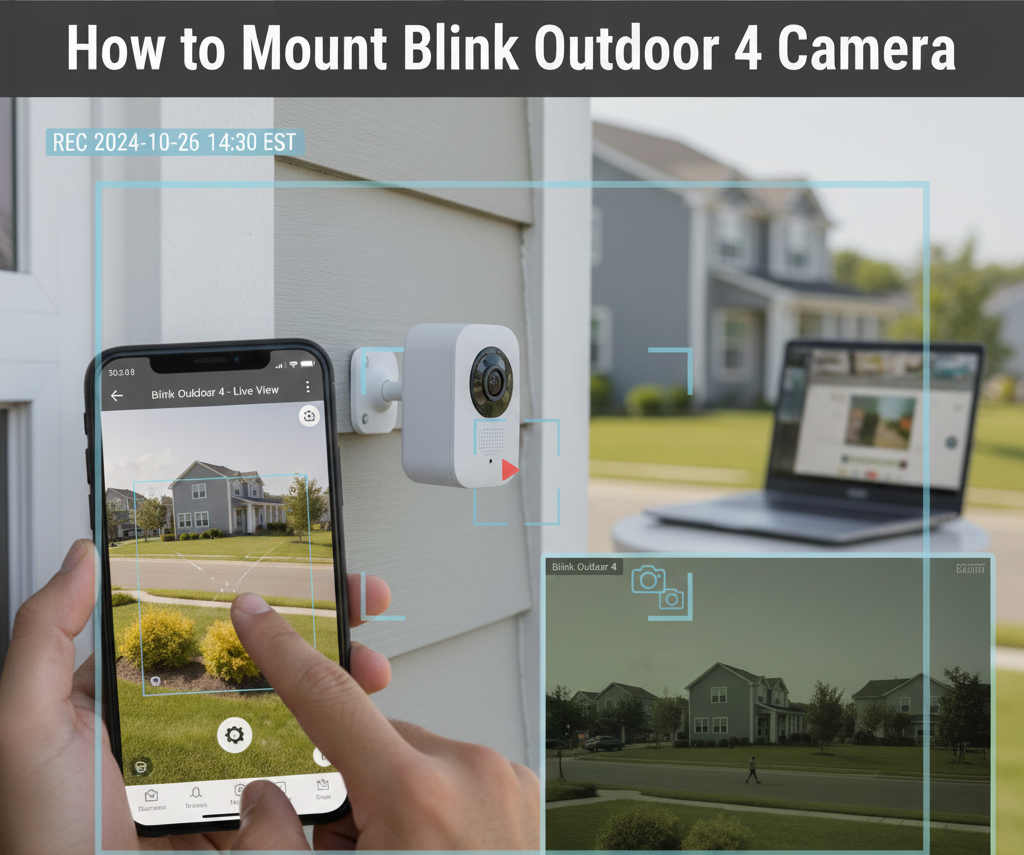
Installation of your Blink camera normally includes downloading the Blink Home Monitor application, signing up/logging in to your account and adding your camera by scanning the QR code on the screen. After connecting, you can manage settings as trigger motion detection, notifications and video quality according to your preferences.
Follow a few steps and your Blink camera is on and able to serve your home or office, giving you an ease of mind and security. Through this guide, we will go through each step by step so that you can easily install your Blink camera.
Understanding Your Blink Camera: Features and Benefits
- Wireless Installation
No complicated wiring is required, making setup quick and hassle-free. - Long-Lasting Battery Life
Runs on durable batteries that can last up to two years. - Smart Motion Detection
Sends instant alerts to your phone whenever movement is detected. - HD Video Quality
Provides clear and sharp video during the day. - Night Vision
Ensures visibility even in low-light or dark conditions. - Two-Way Audio
Lets you listen and speak through the camera for added convenience. - Flexible Storage Options
Choose between cloud storage or local storage for saving recordings. - Cost-Effective Security
Affordable and reliable, giving peace of mind without heavy expenses.
Preparing for Setup: What You Need to Know Before You Start
Before installing your Blink camera, it helps to plan to save you some time and aggravation. Begin by ensuring that the Wi-Fi connection on which your camera will run is stable and strong because live streaming and alerting depend on these things.
It also assists in situating your router in the middle so as to prevent low signal strength. Then, install the Blink Home Monitor app on your phone or tablet; this will walk you through all the steps of setting it up. Have new AA lithium batteries on hand since they are needed to power the camera and last up to two years.
Lastly, make sure the camera, Sync Module (if you have one), and any mounting materials are nearby and at your disposal. These are the things you need to be ready before establishing a smooth set-up and enjoy secured monitoring at once.
How to Set Up Blink Camera: Step-by-Step Guide
Setting up your Blink camera is simple, even if it’s your first time using a security device. Follow these steps to get started:
Step 1: Download the App
Begin by downloading the Blink Home Monitor app from the App Store or Google Play. Create a new account or sign in if you already have one.
Step 2: Add Your Sync Module
If your Blink camera comes with a Sync Module, plug it into a power source and connect it to Wi-Fi using the app. This acts as the hub for your camera.
Step 3: Insert the Batteries
Open the back cover of your Blink camera and insert the AA lithium batteries provided. These can last up to two years before replacement.
Step 4: Add Your Camera
In the app, tap “Add Device,” scan the QR code inside your camera, and follow the instructions to connect it to your Sync Module and Wi-Fi.
Step 5: Place and Mount the Camera
Choose a spot with a good Wi-Fi signal and mount the camera using the included bracket. Adjust the angle to cover your desired area.
Connecting Your Blink Camera to WiFi: Tips and Troubleshooting
An efficient and stable Wi-Fi network is a requirement to get your Blink camera up and running. Start by positioning your camera within range of your router so that you do not experience weak signals. Install the Blink Home Monitor application, tap Add’ accessory, and follow the steps on screen to pair the camera.
During setup, you will be required to furnish your Wi-Fi network name and password. Always connect to a 2.4GHz Wi-Fi network band as the Blink cameras cannot support the 5GHz band. When you have a connection, try the live view so that you can verify that your camera is streaming. A sound internet connection will ensure the video quality is fluent and the notifications come on time.
Tips for Connecting Your Blink Camera to Wi-Fi
- Place the camera close to your Wi-Fi router during setup for a stronger signal.
- Always use the 2.4GHz Wi-Fi band, since Blink does not support 5GHz.
- Enter your Wi-Fi name and password carefully to avoid errors.
- Test the live view in the app to confirm the camera is streaming correctly.
- Keep your router in a central location to improve overall coverage.
Troubleshooting Connection Issues
- Move the camera or Sync Module closer to the router if the signal is weak.
- Restart both your router and camera before retrying setup.
- Double-check that you are using the correct Wi-Fi password.
- Minimize interference by reducing the number of active devices on your network.
- Update the Blink app and camera firmware to fix bugs or glitches.
- If problems continue, reset the camera and set it up again from scratch.
Customizing Your Blink Camera Settings for Optimal Performance
After your Blink camera is installed, you can adjust some settings to maximize its functionality. On the Blink Home Monitor app, tap on the settings of your camera. To start with, regulate the sensitivity of motion detection to allow you to be notified only about significant activity rather than minor adjustments.
Second, activity zones can be configured so that zones such as a busy street or a moving tree will not give false alarms. You can also adjust video quality to saver, standard, or best on the basis of either a longer battery life or superior footage.
The night vision helps to get clear video recording in the dark, and the two-way audio feature will allow you to receive messages using the camera. By implementing these features, you can have control to optimise the battery performance, accuracy, and make the Blink camera perform as you want it to.
Installing Blink Camera App: A Comprehensive Walkthrough
The Blink Home Monitor app is the central hub for setting up, customizing, and controlling your Blink cameras. Installing it is quick and straightforward.
Download the App
Go to the App Store (iOS) or Google Play Store (Android) and search for “Blink Home Monitor.” Tap Install to download it to your device.
Create an Account
Once installed, open the app and select Create Account. Enter your email address, create a strong password, and verify your account through the confirmation code sent to your email.
Sign In and Set Up
After verification, sign in with your new credentials. You’ll be guided to add devices such as your Sync Module or Blink camera.
Enable Permissions
Allow the app access to your phone’s camera (for scanning QR codes), location (for accurate time zones), and notifications so you never miss alerts.
Customize Settings
Inside the app, you can manage multiple cameras, adjust motion alerts, enable live view, and control video quality.
How to Set Up Blink Camera Alerts and Notifications
Setting up alerts on your Blink camera ensures you never miss important activity around your home. Open the Blink Home Monitor app and select the camera you want to manage. From the settings menu, turn on motion detection and adjust the sensitivity level to avoid unnecessary alerts.
You can also create activity zones to block out areas with frequent movement, like trees or streets. Next, enable notifications on your smartphone, allowing the app to send instant alerts whenever motion is detected.
If you prefer, customize your notification preferences, such as push alerts or email updates. With these settings in place, your Blink camera will keep you informed in real time, adding an extra layer of security and peace of mind.
Security Tips for Blink Camera Owners
- Secure Your Wi-Fi Network – Protect your cameras by using a strong Wi-Fi password and WPA2 or WPA3 encryption.
- Keep Your Blink App Updated – Install the latest version of the Blink Home Monitor app to benefit from new features and security fixes.
- Update Camera Firmware – Regularly check for firmware updates to ensure your camera runs with the latest protection.
- Use Strong Account Credentials – Create a unique, complex password for your Blink account to reduce the risk of hacking.
- Enable Two-Factor Authentication – Add an extra layer of security by requiring a code in addition to your password.
- Manage Shared Access Carefully – Only share camera access with trusted people and review permissions often.
- Position Cameras Wisely – Place cameras where they cover key areas but are out of easy reach to prevent tampering.
Wrapping Up
Getting your Blink camera set up and configured need not be painful. Clarity is built into every step, such as downloading the Blink Home Monitor app, connecting your camera to your Wi-Fi, setting up motion alerts, and customizing settings.
They have all been optimized to be easy to master. In minutes with a bit of preparation, you can enjoy the benefit of having a reliable security camera system that really stands up and delivers the goods at Blink camera.
It is possible to customize important aspects of your camera to ensure the product offers a personalized experience focused on you, such as your sensitivity to motion, your activity zones, and your notifications.
To further secure your system, it is also good to adhere to the security best practices, including keeping your wireless network secure and activating two-factor authentication. Having all the mechanisms in place, your Blink camera positions itself as far more than a simple gizmo to rely on when protecting your household and beloved people.
FAQs
Do I need a subscription for Blink?
No, a subscription is not required to use Blink cameras. You can view live footage and receive motion alerts for free. However, if you want to store video clips in the cloud, you’ll need a Blink Subscription Plan. Without a plan, you can still use local storage with the Sync Module 2 and a USB drive.
How to set up Blink on iPhone?
Download the Blink Home Monitor app from the App Store. Open the app, create or log into your account, and add your Sync Module or camera by scanning the QR code. Follow the step-by-step instructions, connect to Wi-Fi, and you’re ready to go.
How to start recording on Blink?
Blink cameras record automatically when motion is detected, as long as the camera is armed. You can also use Live View in the app to manually start recording if you have a subscription or local storage enabled.