In case your Blink camera ceases responding, loses connection or is not working as intended, a reset process may be useful. There are a few reasons to reset your Blink camera and restore it to its factory settings.
This operation solves such problems as syncing errors or other issues, offline problems, and unresponsive devices. This step can be helpful to many users when trying to troubleshoot a problem before contacting customer support.
It is simple, but may be slightly different, depending on the Blink model you have, for example, Mini, Outdoor, or Indoor Blink. Timely and proper information on how and when to reset your camera makes your security system stay effective and steady.
Resetting is a handy tool whether you are troubleshooting a setup issue, connectivity problem, new device sale or relocation. In this Guide, we’ll take you through the appropriate steps in resetting your Blink camera to make it work efficiently again.
Understanding the Blink Camera System
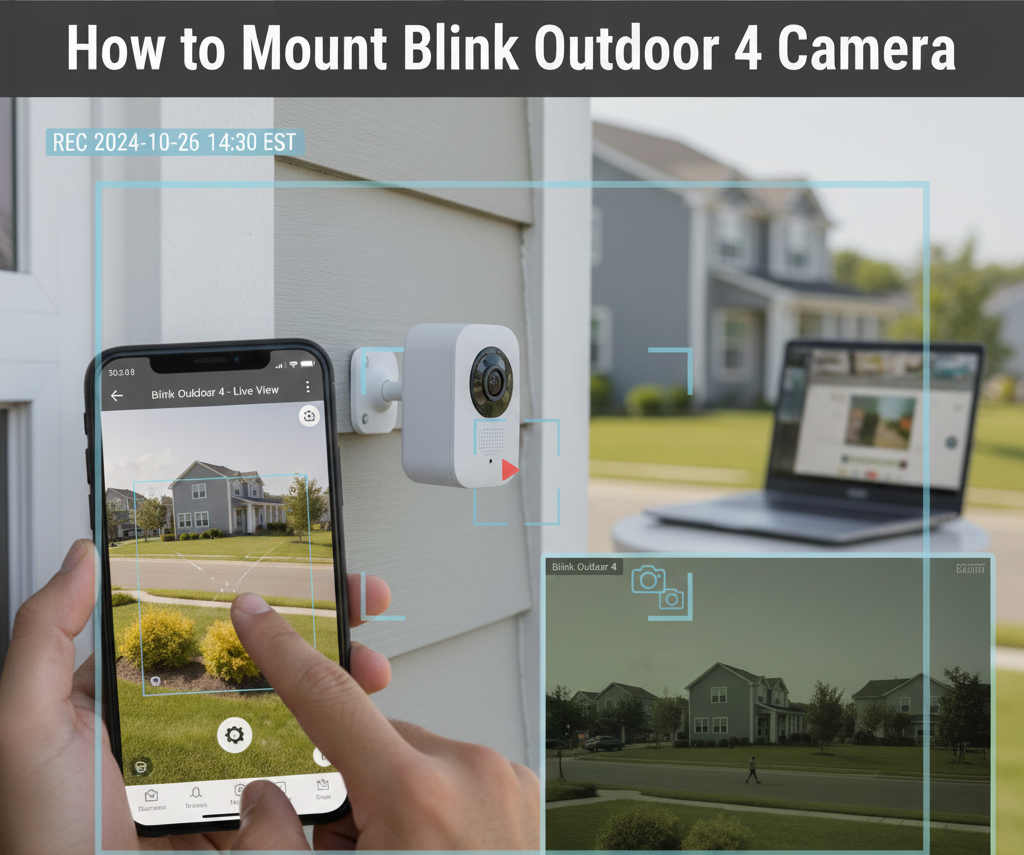
Blink camera system is an intelligent home security system that aims to offer competent surveillance without much hard work. It incorporates wireless cameras that pair with a central Sync Module, which you can use to see live video, get motion alerts and save a video recording using the Blink app.
Long-lasting batteries power the Blink cameras, and some cameras can additionally be powered with wires. The system is equipped with such features as HD video, infrared night vision, and the possible configuration of motion detection, which makes it a flexible system to ensure security indoors and outside. Setup is very user-friendly, which is why Blink is an ideal home security camera, especially for homeowners and tenants.
Common Reasons to Reset Your Blink Camera
- Camera is non responsive or freezes up
- Constant failure of connectivity to Wi-Fi or network problem.
- Problems in syncing with the Blink Sync Module.
- Selling or giving your device.
- Changing both the camera to a different location and/or a different Wi-Fi network.
- Rogue drivers that may foul up upgrades or performance
- Raising motion detection errors or recording errors
- Removing cached configuration to start new with configuration.
Troubleshooting Tips Before You Reset
Check Your Wi-Fi Connection
A weak or unstable internet connection is often the reason your Blink camera goes offline. Restart your router and ensure the camera is within range of the Wi-Fi signal.
Restart the Camera
Sometimes a simple power cycle fixes the issue. Remove and reinsert the batteries for wireless models or unplug and replug the Blink Mini to refresh the device.
Update the Blink App
Outdated software can cause glitches. Visit your phone’s app store and update the Blink app to the latest version for smoother performance.
Verify Sync Module Status
If your camera won’t connect, the problem may be with the Sync Module. Check its LED indicator—green and blue lights mean it’s working correctly, while red indicates a problem.
Clear App Cache and Data
Corrupted app data can interfere with camera performance. Go into your phone’s settings, clear the Blink app’s cache, and log back in.
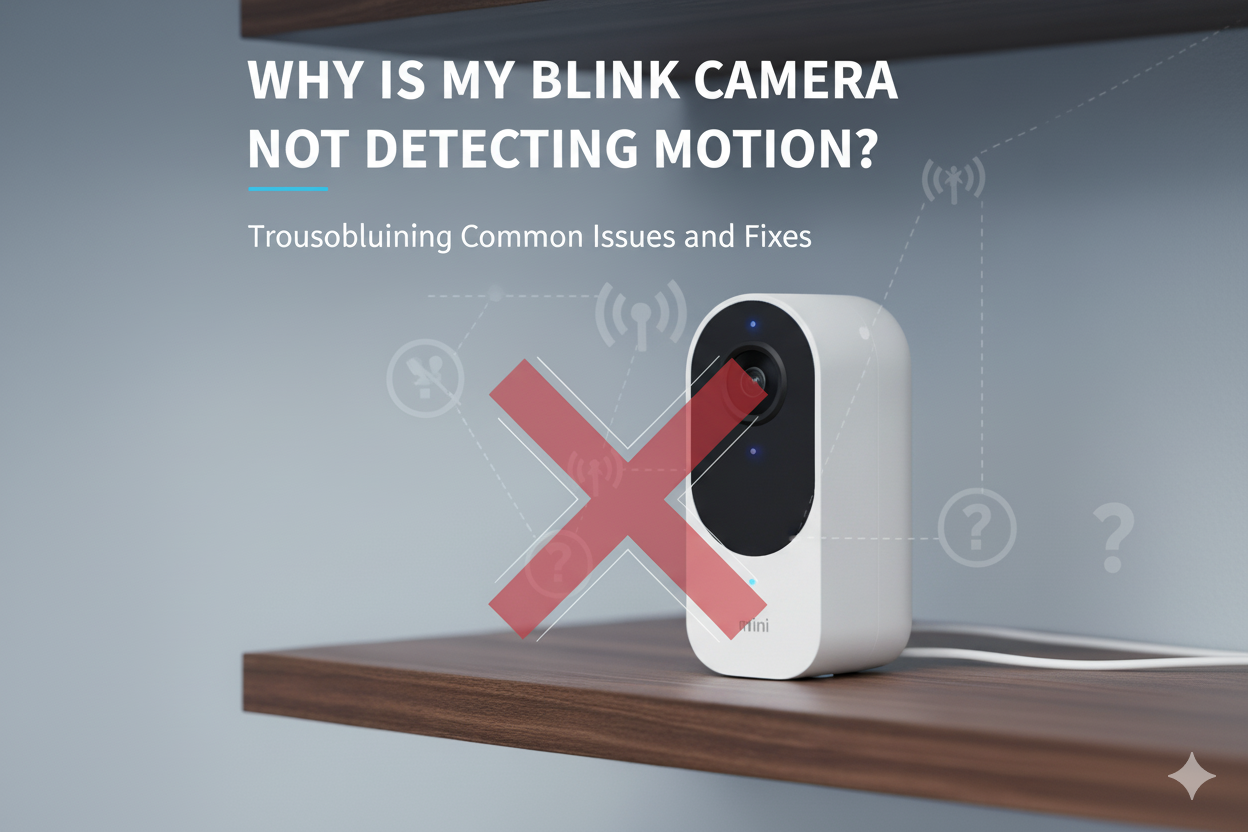
Check Motion and Privacy Settings
If your camera isn’t recording or detecting motion, review the motion detection and privacy zone settings in the app to ensure they’re set correctly.
How to Reset Blink Camera: Step-by-Step Guide
Resetting your Blink camera is a simple process, but the exact method can vary slightly depending on the model. Follow these steps to safely reset your device:
Locate the Reset Button
Most Blink cameras, such as the Blink Mini or Outdoor, have a small reset button. On the Mini, it is found at the back of the camera, while on Outdoor and Indoor models, it’s usually near the battery compartment.
Press and Hold the Button
Use a paperclip or a small pin to press and hold the reset button for about 10–15 seconds. For the Blink Mini, hold until the light flashes red. For battery-powered models, the indicator will blink blue and then turn solid green.
Wait for the Camera to Restart
Once the reset is complete, the camera will reboot automatically. The status light will show the device is ready for setup again.
Reconfigure the Camera
Open the Blink app on your smartphone, select “Add Device,” and follow the on-screen instructions to reconnect your camera to Wi-Fi and the Sync Module.
Differences Between Soft Reset and Hard Reset
When dealing with Blink camera issues, it’s important to understand the difference between a soft reset and a hard reset. Both methods can fix problems, but they work in different ways and have different effects on your camera’s settings.
Soft Reset
A soft reset is a less deep troubleshooting sequence that does not reset your stored configurations. Most often, it can be solved by cycling power to the camera, or removing and re-inserting the batteries in wireless cameras, or unplugging and re-plugging the power cord on wired cameras such as the Blink Mini.
This technique comes in handy when there are temporary hiccups, the camera might be frozen, delayed notifications, or it might be suddenly disconnected from Wi-Fi. A soft reset does not revert the camera to factory settings, so you will not have to reset the camera in the app.
Hard Reset
A hard reset, also known as a factory reset, takes the Blink camera back to the default factory setting. This is achieved by holding down the reset button on the device until the indicator light flashes. A hard reset resets all of the saved settings, such as wifi, preferences, and connection with the Sync Module.
Useful where the camera is constantly faulty, fails to synchronize or requires re-configuring to a different location or user. Once the hard reset is used, the camera has to be discovered once more via the app.
Key Takeaway
Use a soft reset for minor issues and a hard reset for serious or recurring problems. Knowing the difference helps you troubleshoot effectively without losing important settings unnecessarily.
Maintaining Your Blink Camera for Optimal Performance
- Maintain up-to-date firmware on the camera using the Blink app.
- Cleaning the lens regularly using a soft cloth can remove the cause of blurred recording.
- Ensure that the Wi-Fi signal is strong and place the camera within the signal range of the router.
- Keep the batteries in shape by changing or charging them before they unexpectedly die.
- Check camera mounts and positioning so that it is stable.
- Outdoor cameras need to be covered with protective barriers against the weather.
- Adjust the motion detection settings in zones and sensitivity to make them precise.
- Delete unnecessary clips on cloud storage to guarantee optimum performance. Restart the camera and the Sync Module every now and then to reconnect them.
- Keep your Blink account up to date with privacy and security in mind by changing the password regularly.
Advanced Tips for Blink Camera Users
- Integrate Blink cameras with Alexa for hands-free voice control.
- Use scheduling features in the Blink app to automate recording times.
- Pair cameras with third-party smart home devices for enhanced security.
- Set up custom activity zones to reduce unnecessary motion alerts.
- Adjust infrared night vision settings for clearer nighttime footage.
- Enable two-factor authentication for added account protection.
- Use multiple cameras with one Sync Module for wider coverage.
- Take advantage of local storage options using a USB drive with the Sync Module 2.
- Regularly review firmware updates for both cameras and the Sync Module.
- Test camera placement by walking through monitored areas to optimize detection angles.
How to Securely Back Up Your Blink Camera Settings
While Blink cameras don’t offer a direct option to back up settings, there are steps you can take to protect and preserve your configurations. The most reliable way is by linking your devices to a Blink account through the official app, which automatically saves your setup information, such as Wi-Fi connections, Sync Module pairing, and motion detection preferences.
To add an extra layer of safety, ensure your account has two-factor authentication enabled, preventing unauthorized access. If you are using a Sync Module 2, consider connecting a USB flash drive for local storage of clips, which ensures access even if cloud services face disruptions.
Regularly reviewing and updating your account password also helps secure your data. By maintaining these practices, you can confidently restore or reconfigure your Blink cameras when needed without losing important settings.
At Last
Factory resetting a Blink camera is a simple procedure, but it is best when the correct protocol is applied, as well as the motive behind it. Whether it is a soft or hard reset that rectifies a few minor system glitches or restores factory settings, each plays a vital role in maintaining your home security system’s resilience.
Sometimes, simple troubleshooting can resolve many problems without the need to perform a reset, and so, before running into a reset, simple steps can be taken to fix an issue.
Nevertheless, by being diligent in maintenance, encompassing advanced tips, and protecting your account, you will guarantee that your cameras will continue to perform with consistency as time goes on. As a beginner or a frequent user of Blink, knowing how to reset, maintain, and back up your Blink device will help you to be at ease and ensure your security device works optimally.
FAQs
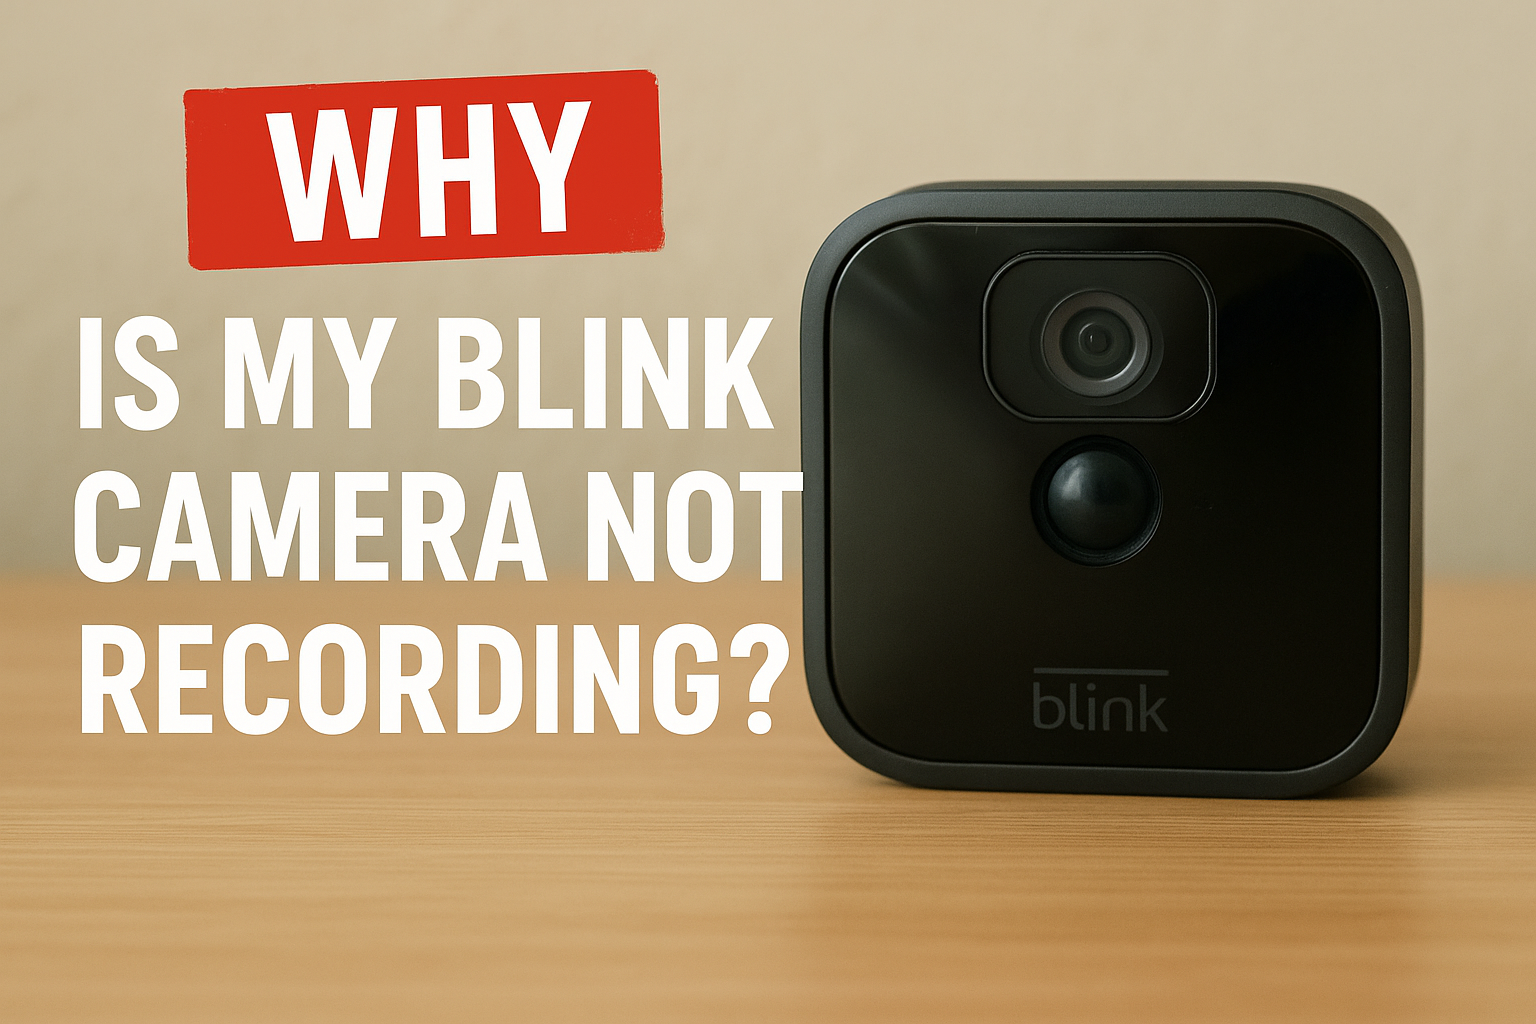
Do Blink cameras record all the time?
No, Blink cameras do not record continuously. They are motion-activated and only capture clips when motion is detected. This design helps conserve battery life, storage, and ensures efficient monitoring without unnecessary recordings.
Does Blink camera need Wi-Fi?
Yes, Blink cameras require a stable Wi-Fi connection to function properly. Wi-Fi enables features like live streaming, motion alerts, and cloud storage. Without Wi-Fi, the camera cannot sync or transmit video to the Blink app.