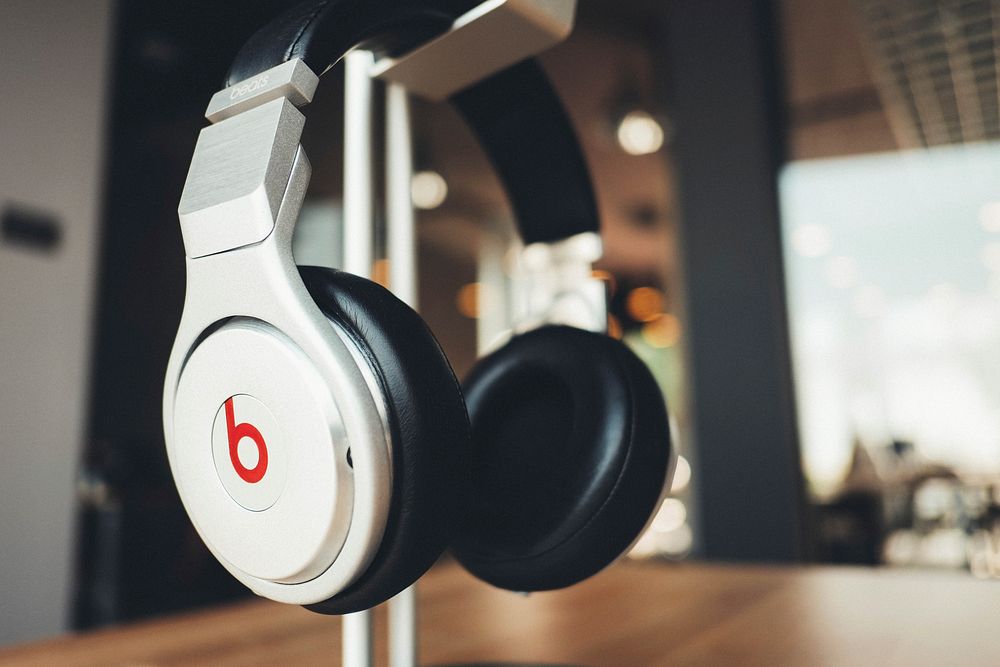
When your Beats Solo 3 headphones fail to switch on, it might not be comforting, and this may happen just at the time you need them. The positive thing is that this problem is usually not very hard to resolve using some minor troubleshooting steps. In most cases, a low battery or a connectivity issue can be seen as the reason.
In some other instances, it may be a malfunction in the software, or it may be the power button. However, the reason might not matter because you do not have to panic. Having made sure of the fundamentals, such as plugging wire or pressing the buttons, you are likely to restore your headphones and be able to utilize them. This tutorial will take you through the same measures you should use to find and fix the problem, so that you can continue enjoying your music quickly.
First You have to Know About What happened with my Beats Solo 3
- Have the headphones been stored in extreme temperatures or humidity?
- Was the charging cable or port inspected for any visible damage or dirt?
- Have the headphones been exposed to any strong magnetic fields or electronic interference?
- Was the power button pressed for a long enough time to initiate the startup?
- Were there any connectivity issues with Bluetooth or other paired devices recently?
- Have the headphones been used for an extended period without a break, leading to potential overheating?
- Have you recently installed any new software or updates on the device they were connected to?
- Is there any indication of a malfunctioning LED indicator or other visual signals?
Checking the Battery and Charger for Your Beats Solo 3
- Inspect the Charging Cable:The charge cable must be intact and not frayed. It can also be due to a bad cable that refuses the headphone to charge.
- Test a Different Charger: One thing you can do is to take another USB cable or adaptor and rule out the charger as the possible problem.
- Check the Charging Port:Particles or dirt in the charging port may be the cause of incorrect connection. Wipe the port easily using dry cloth or compressed air.
- Ensure the Battery Is Not Fully Drained:In case the battery ends up being completely dead it may be several minutes of charging till we could see anything coming out of the battery. Wait, and time will come.
- Verify the Charging Indicator: Check the area around the power button to look at the LED light and determine whether the phone is charging. Otherwise, the absence of the information might signify a problem with the battery or charger.
- Use a Different Power Source: One possible cause of failure would be to check the power supply by plugging the charger into a different wall socket or USB port.
Understanding the Power Indicator Lights on Beats Solo 3
What Are Power Indicator Lights?
The Beat Solo 3 headphones have tiny lights on the power button. These lights enable you to see at a glance how much battery you have as well as what the connection status is.
Battery Level at a Glance
When you turn on your headphones, 1 to 5 white lights appear.
- 5 lights: Full charge
- 1 light: Low battery (charge soon)
If the last light is red, it means the battery is critically low.
Charging Status
The lights flash in white when charging. When the battery is full, all five lights will be solid. This will make you understand when it is ready to be used again.
Pairing Mode
When they flash, particularly when you click on the power button, then we say that the headphones are in a pairing state and thus they are ready to be connected to a new source.
Connecting Beats Solo 3 to Different Devices for Testing
Start with a Full Charge
Your Beats Solo 3 headphones will have to be charged before you attempt to test them. This prevents disruptions in the process of connection.
Put in Pairing Mode
Press the power button to hold it up to 5 seconds so that the LED lights begin flashing. This implies that the earphones are in pairing mode.
Connect to Devices
In a phone, a tablet or a computer, enable Bluetooth and find Beats Solo 3 on the list. You will want to hear a beep that indicates a successful connection.
Test Audio and Controls
Test/play audio, volume control and ensure all is well with play/pause button. Repeat it on other devices in order to ensure compatibility.
Using the Beats App to Diagnose Connection or Power Issues
Beats app is quite a useful instrument in terms of controlling and troubleshooting your Beats Solo 3 headphones. Connection or power problem: To deal with connection or power problems, follow the following steps:
- Download and Install the Beats App: Make sure you have the most recent version of the Beats application on your smartphone.
- Connect your Beats device:Connect the Beats headphone with the app by using Bluetooth.
- Check the battery level:The app will show your current battery percentage so that you can figure out your power problem.
- Test the connection: Install the app to check whether Beats are connected correctly to the device. The app may also be used to find some difficulties in Bluetooth pairing issues
- Run diagnostics:The program comes with an in-built diagnostic tool that gives indication of possible problems with connection or power.
- Update firmware: By far the most exciting (or frustrating) part of owning a set of Beats is the ability of the app to update the firmware on its products. If you have a problem with your Beats, the app can tell you whether there is a firmware update available to fix any bugs or connection issues.
Resetting Your Beats Solo 3: A Step-by-Step Guide
When your Beats Solo 3 have become problematic in terms of their performance, that should be fixed by resetting them. It is always possible to reset the device when it comes to connection or sound problems. This is the easiest way to reset your Beats Solo 3, as there is a simple procedure to follow to the end.
- Power off your Beats Solo 3:Press down the power button to a count of approximately 10 seconds after which the LED indicator light goes off.
- Press and hold the Volume Down and Power buttons:Hold both buttons together and press until 10 seconds go by.
- Wait for the LED indicator to flash: The LED light will flash white and red, causing you to know that the process of reset is in process.
- Release the buttons:Allow the LED to flash and then both the buttons at the same time and your Beats Solo 3 should reset.
- Reconnect your Beats Solo 3:Turn on your headphones and restore the connection to your devices using Bluetooth.
- Test the functionality: Test and make sure that everything works alright, the sound, pairing, etc.
- Troubleshooting: The reset was the last resort, so in case it cannot fix the issue, there is always the option to update your Beats firmware or send it to customer support.
Software Updates: Keeping Your Beats Solo 3 Functional
Always make sure that your Beats Solo 3 headphones are up-to-date so that they can work properly. Software could be updated in order to fix bugs, enhance functionality, and new features could also be added. With the tips of regularly checking the updates, issues with connectivity will be avoided, better sound quality will be achieved, and the battery will last a very long time. That is how the software updates keep your headphones functional:
- Regular updates improve Bluetooth connectivity, fixing pairing issues and enhancing the connection with your devices.
- Updates may fix battery performance issues, ensuring your headphones last longer on a single charge.
- Firmware improvements can enhance sound quality, providing a better listening experience.
- Software updates can introduce new features, including enhanced controls or optimizations for specific devices.
- Occasionally, updates will fix bugs that cause the headphones to freeze or not respond to commands.
- The Beats app automatically checks for updates, making it easier to stay up-to-date.
Inspecting and Repairing Physical Damage on Your Beats Solo 3
The mechanical damage to your Beats Solo 3 headphones may interfere with their operability or cause them to fail all. Damages such as a split headband, fallen or torn ear cushions, or broken wires may require some checking and handling of the problem at its earliest stages. Make it a habit of checking for any evidence of wear and tear so that your headphones are durable.
- Inspect the headband for any cracks, bends, or wear. A broken headband can make the headphones uncomfortable or unusable.
- Check the ear cushions for tears or loose padding. If damaged, consider replacing them to ensure comfort and sound quality.
- Examine the audio cable for frays or exposed wires. A damaged cable can affect sound or cause intermittent connection issues.
- Look for loose buttons or unresponsive controls. If the buttons are malfunctioning, cleaning or replacing them might help.
- For more significant damage, such as broken internal components, consider contacting Beats support for repair options.
Common Issues and Solutions for Beats Solo 3 Power Problems
Headphones Won’t Turn On
- Issue: The Beats Solo 3 may fail to power on, even after pressing the power button.
- Solution:
- Ensure the battery is not completely drained and plug the headphones into a charger.
- If that doesn’t work, try resetting the headphones by pressing down on the power button and volume down button simultaneously at the same time for about 10 seconds until the LED light turns.
- Ensure the battery is not completely drained and plug the headphones into a charger.
Battery Drains Quickly
- Issue: The battery drains much faster than usual, even with light usage.
- Solution:
- Try using a different charger or cable to see if the issue lies with the charging accessories.
- Ensure that the headphones are fully charged before use, as partial charges may cause quicker battery depletion.
- Try using a different charger or cable to see if the issue lies with the charging accessories.
Charging Issues
- Issue: The Beats Solo 3 doesn’t seem to charge properly or shows no charging indicator.
- Solution:
- Inspect the charging port for dirt or debris and clean it gently using a soft cloth or compressed air.
- Use an authentic Beats charger, as third-party chargers may not work efficiently with the headphones.
- Inspect the charging port for dirt or debris and clean it gently using a soft cloth or compressed air.
Bluetooth Connectivity Problems
- Issue: The headphones have trouble connecting or staying connected to devices via Bluetooth.
- Solution:
- Make sure the headphones are within the Bluetooth range of your device.
- Unpair the headphones from your device and then re-pair them.
- If issues persist, reset the headphones by holding the power button for 10 seconds.
- Make sure the headphones are within the Bluetooth range of your device.
Preventative Care: Tips to Keep Your Beats Solo 3 in Top Condition
Regular Charging and Battery Maintenance
In this case, you need to make sure that you charge your Beats Solo 3 appropriately to maintain it in its best state. Do not let the battery run out of charge completely and then start charging. Rather, charge the headphones when the electricity is approximately 20-30 per cent. This assists in keeping the battery healthy and living longer.
Keep Them Clean
It is best practice to clean your Beats Solo 3 frequently so that there are no accumulations of dirt, dust, or sweat. Wet a lint-free, spotless yarn and gradually stroke the headband and ear cups. They should not be washed in harsh chemicals or water, which will spoil the materials. In the case of the charging port, you should take care to clean it with compressed air to avert any danger in the port.
Store Properly
Put your Beats Solo 3 in a case or pouch when they are not being used to prevent scratches and other damage caused by external factors. They should not be left under hot or humid conditions, as extreme temperatures will influence the battery and its performance.
Avoid Overheating
Although you are using or charging your headphones, you should make sure that they do not get hot. After they are charged fully, they should always be unplugged, and they should be used, not extensively, at maximum levels, as they cause overheating.
Handle with Care
Keep your headphones gentle when tweaking them or folding them. Do not yank on the cables. Leave them so that the ear cups will not be carrying a great deal of stress. This reduces the run on your headphones to make them last a little longer.
Professional Help: When to Contact Apple Support for Your Beats Solo 3
When you can no longer find solutions to your recurring problems with your Beats Solo 3, you might want to reach out to Apple Support.
- Battery Problems: When your headphones are not charging or depleting at a much higher level, then this can be a battery problem and you will need professional assistance to address them.
- Charging Issues: In case there is still no charge on your Beats even when you use different chargers or cables, it may be a serious problem dealing with your charging port or internal parts.
- Audio or Bluetooth Connectivity:In case resetting bluetooth headphones does not solve connectivity problems or that the audio reception keeps on fluctuating, the assistance of a professional is required.
- Physical Damage: Once more, in the case of your headphones being physically damaged (cracked headband, damaged parts, etc.), the most adequate action would be to seek repair solutions with Apple Support.
The Last Thoughts
Maintenance of your Beats Solo 3 will help it last longer and maintain high performance. Many of the common problems could be eliminated by observing easy tips such as charging correctly, cleaning, and storing safely.
Nevertheless, there is always a chance to turn to professional assistance and contact Apple Support in case there are certain issues or some serious damage to your headphones. Their technicians are able to detect and resolve malfunctions that might not be easily solved.
Do not forget that maintaining the Beats Solo 3 in excellent shape helps it outlast even longer and also guarantees the best possible sound quality and functionality. Never be afraid to contact Apple Support in any way when you want to be sure.
FAQ’s
How long do Beats Solo 3 last?
Beats Solo 3 can last up to 40 hours of continuous playback on a full charge, thanks to its efficient battery and energy-saving features.
Why is my Beats Solo 3 blinking white light?
A blinking white light usually indicates that your Beats Solo 3 is in pairing mode, waiting to connect to a device via Bluetooth.
How to check Beats battery?
To check the battery, simply connect your Beats Solo 3 to an iOS device, and the battery status will appear on the screen. On Android, use the Beats app.