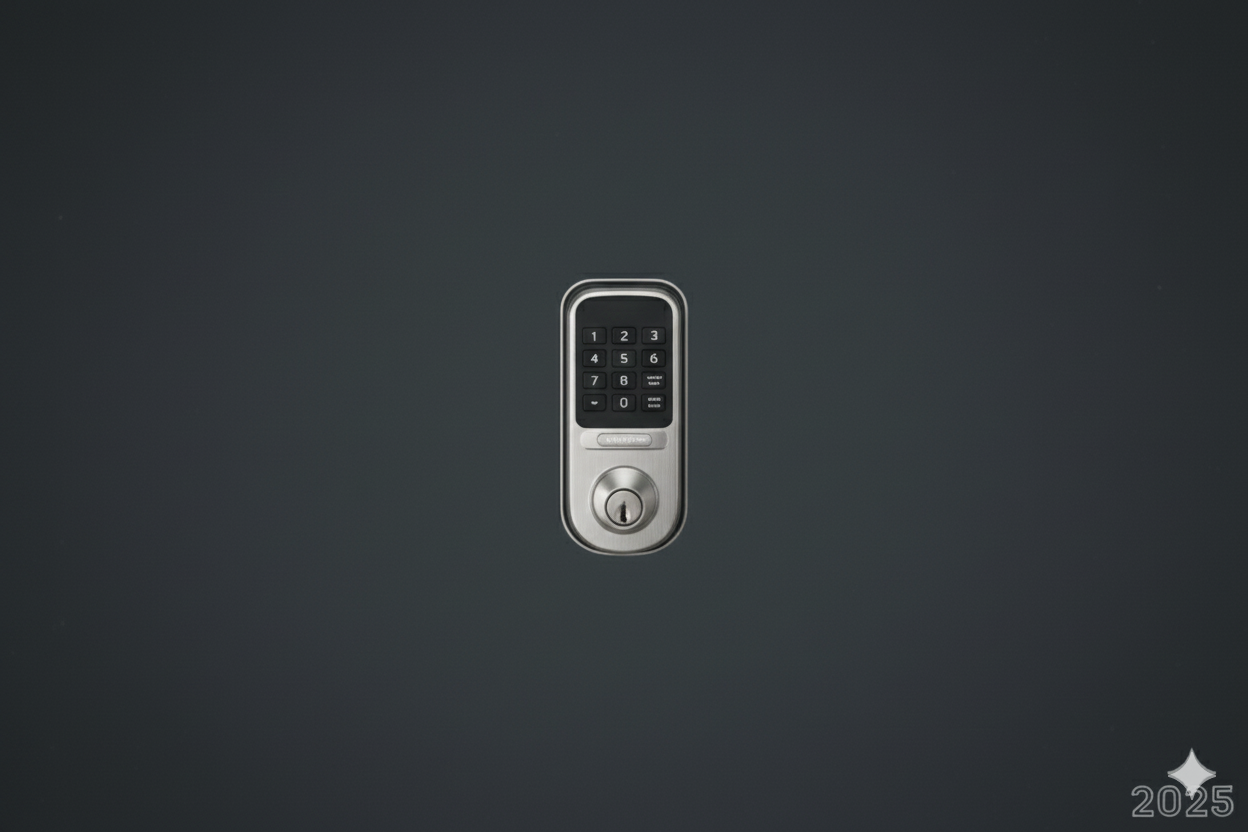
Installing a Kwikset smart lock brings a feeling of comfort and control to any home. It replaces the old style of managing keys with a smooth and modern way of keeping the entrance secure. Many people choose Kwikset because it blends strong security, easy setup and reliable performance without needing technical experience.
The process may look complicated at first, but once the steps unfold, everything becomes simple and clear. A little patience and the right guidance allow anyone to set it up confidently. This guide shares a practical walk through that comes from real experience so the installation feels natural. With the right approach, the home becomes safer and everyday access becomes effortless.
Tools You Need Before Installation
Screwdriver
A screwdriver is the main tool required for installing a Kwikset smart lock. Most models work smoothly with a standard screwdriver. It helps remove the old lock and secure the new parts in place. A comfortable grip makes the process easier and prevents damage to the screws.
Tape Measure
A tape measure helps check door thickness and alignment. Kwikset locks are designed for common door sizes, but confirming the measurements prevents fitting issues. A quick check ensures the latch and bolt sit correctly once installed.
Cleaning Cloth
A cleaning cloth is helpful when removing the old lock. Dust and small wood particles gather around the latch area. Cleaning the surface allows the new lock to sit neatly and improves its long term performance.
Optional Level Tool
A level tool is useful for people who want perfect alignment. While optional, it helps ensure the keypad or exterior assembly rests evenly on the door. A straight installation makes the smart lock operate smoothly without resistance.
Preparing Your Door for a Kwikset Smart Lock
Preparing the door before installation makes the entire process smooth and stress free. Start by checking that the door opens and closes without pressure because a Kwikset smart lock performs best on a door that sits correctly in its frame.
Make sure the latch area is clean and free from dust or old wood chips. A quick wipe with a soft cleaning cloth allows the new lock to fit neatly. Remove the existing deadbolt carefully and keep its screws aside so nothing gets misplaced. Use a tape measure to confirm the door thickness matches the recommended size for Kwikset locks.
This simple step prevents alignment issues later. Once the door surface is clean, the frame is stable and the measurements are confirmed, the door becomes fully ready for a secure and successful installation.
Step-by-Step Guide: How to Install Kwikset Smart Lock
Installing a Kwikset smart lock becomes simple once each step is followed with patience. The process does not require advanced skills, only careful attention and a clear understanding of how the parts fit together. This guide explains every stage in a natural and easy to follow way so the installation feels smooth from start to finish.
Step One Remove the Old Deadbolt
Begin by opening the door and locating the screws on the interior side of the old lock. Use a screwdriver to remove them slowly. Once the interior plate becomes loose, the exterior part will slide out gently. Keep the old screws aside. After removing everything, clean the latch area so the new lock fits neatly.
Step Two Install the Kwikset Latch
Take the new Kwikset latch and place it into the side opening of the door. Make sure the latch faces upward because this allows proper alignment during operation. Secure it with the screws provided in the kit. The latch should feel firm but not overly tight.
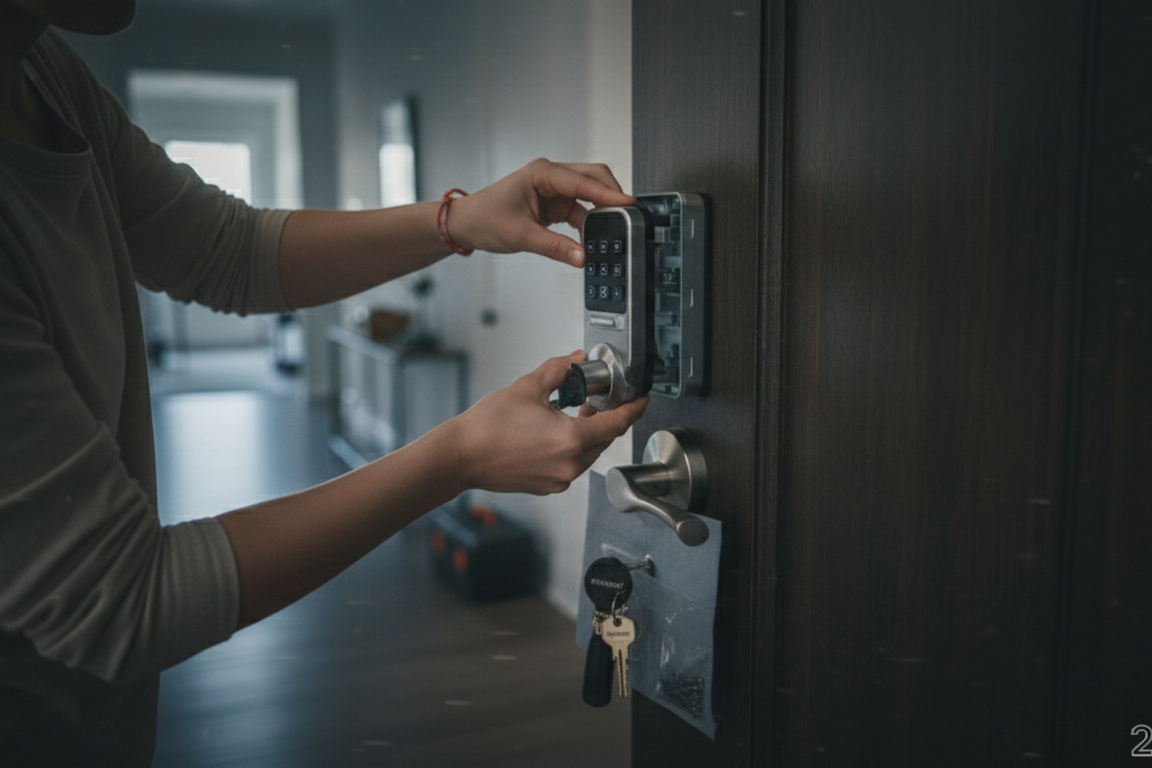
Step Three Position the Exterior Assembly
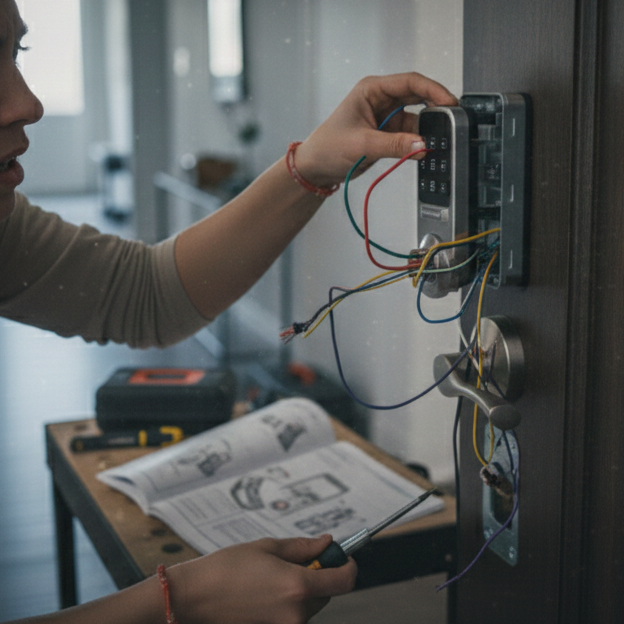
Take the exterior keypad or exterior assembly and carefully pass its cable through the door opening. Hold the assembly flat against the outside of the door. It should sit evenly without pressure. A straight position is important because an uneven fit can cause the lock to jam later.
Step Four Attach the Mounting Plate
Move to the inside of the door and place the mounting plate over the latch. Connect the cable from the exterior piece into the small port on the plate. Kwikset designs the connector in a way that prevents incorrect placement. Once connected, secure the plate with the included screws.
Step Five Install the Interior Assembly
Take the interior unit and place it over the mounting plate. The unit should rest naturally without force. Tighten the screws until everything feels steady. When the interior assembly is secured, open the battery compartment and insert the recommended batteries. The lock usually responds with a sound or light, confirming the connection.
Step Six Test the Manual Locking Motion
Before activating the smart features, test the thumb turn from inside. Rotate it to ensure the deadbolt slides smoothly. If you feel resistance, the alignment may need a small adjustment. A smooth manual test is important because it confirms the core mechanism is working correctly.
Step Seven Activate the Smart Features
Open the Kwikset app on your mobile device and begin the setup process. Keep the phone close to the lock while pairing. Follow the on screen instructions to connect the lock to your account. Once paired, assign your main entry code and create additional codes for family members or trusted visitors.
Step Eight Final Confirmation
After the digital setup is complete, lock and unlock the door several times using both the keypad and the app. This confirms everything is synced properly. Once the movements feel smooth and responsive, the installation is fully complete.
Setting Up the Smart Features
• Download the Kwikset app from your mobile store and create your account.
• Keep your phone close to the lock and follow the pairing steps shown on the screen.
• Allow the app to detect the Kwikset smart lock and wait for the confirmation prompt.
• Create your primary entry code and test it on the keypad.
• Add extra access codes for family members, guests or helpers when needed.
• Enable mobile alerts so you receive notifications whenever someone uses the lock.
• Connect the lock to your smart home system if supported.
• Explore the app settings to adjust auto lock timing, privacy mode and notifications.
Troubleshooting Common Installation Issues
Even with a careful setup, a few situations can create confusion during installation. Understanding these common issues helps fix them quickly and keeps the process smooth.
Misaligned Deadbolt
If the deadbolt does not slide in or out easily, the door and latch may not be aligned. Gently adjust the latch position and test the movement again. A smooth slide means the lock is correctly centered.
Loose Exterior Assembly
Sometimes the exterior keypad may feel slightly loose. This usually happens when the mounting plate is not tightened evenly. Recheck the screws and make sure the plate sits flat against the door.
No Response After Battery Installation
If the interior assembly does not light up or make a sound, the battery connection may be incomplete. Remove the batteries, clean the contacts and place them back firmly. Fresh batteries often solve this instantly.
Unsuccessful App Pairing
If the app cannot detect the lock, move closer to the door and restart the Kwikset app. Resetting the lock through the interior panel button can also help establish a clean connection.
Keypad Not Registering Taps
When the keypad does not respond, wipe it with a soft cloth to remove dust or moisture. Make sure the interior cable connection is secure, as a loose cable can affect keypad performance
Maintaining Your Kwikset Smart Lock for Long Term Use
Keeping a Kwikset smart lock in good condition helps it perform smoothly every day. A little attention makes a big difference in how long the lock lasts. Simple habits such as cleaning, checking the batteries and testing the latch regularly ensure the lock stays reliable and works without interruption.
• Regularly clean the keypad surface with a soft cloth to remove dust and moisture.
• Replace the batteries as soon as the app gives a low power alert.
• Test the deadbolt movement every few weeks to confirm it slides smoothly.
• Keep the Kwikset app updated to enjoy improved features and security.
• Make sure the door frame stays steady because a loose frame affects alignment.
• Check the interior cable connection if the keypad ever becomes unresponsive.
• Avoid using strong cleaners near the lock since they can damage sensitive parts.
When to Seek Professional Help
There are moments when installing or maintaining a Kwikset smart lock may feel more challenging than expected. Even with careful steps, some situations require skilled support to avoid damaging the lock or the door.
If the deadbolt does not align after several adjustments or the keypad keeps failing to respond, a professional can identify the issue quickly. Persistent pairing problems with the Kwikset app or repeated system resets are also signs that expert assistance is needed.
A trained technician ensures the lock is installed with precision and that every feature works exactly as intended. Reaching out for help at the right time protects the lock and keeps the home secure without unnecessary stress.
Last Words
Installing a Kwikset smart lock becomes a smooth and confident experience when each step is taken with patience and understanding. From preparing the door to setting up the smart features, every stage plays an important role in creating a secure and welcoming home.
This guide has shared a clear walk through based on real practical knowledge so anyone can complete the installation without confusion. With the right tools, careful alignment and proper maintenance, the lock continues to deliver dependable performance every day.
Even when challenges appear, simple troubleshooting methods or professional support keep everything on track. A well installed and well cared for Kwikset lock adds comfort, safety and modern convenience to any home, making daily entry easier and much more reliable.
FAQs
The setup code for a Kwikset smart lock is usually found inside the battery compartment or on the user guide that comes with the lock. This code is required during the app pairing process. Entering it correctly allows the lock to connect to your mobile device and begin full setup.
A Kwikset smart lock can be opened in several ways. The most common option is using the keypad entry code. You can also use the Kwikset app to unlock the door from your phone. If needed, a physical key can open it as well. These options give flexibility in everyday use.
If the lock stops responding, low batteries or a loose interior cable connection are the most common causes. Replacing the batteries or securing the cable usually restores normal function. If the issue continues, resetting the lock through the interior panel often helps.