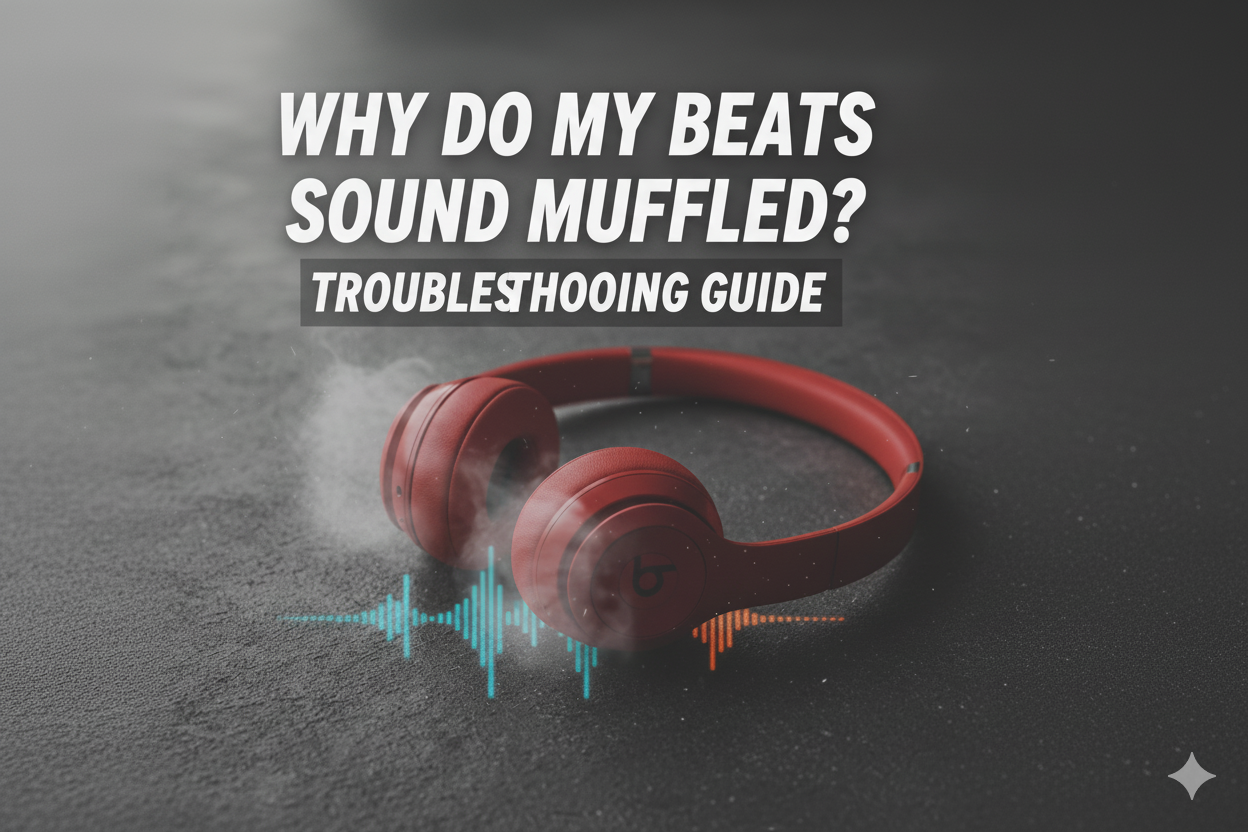
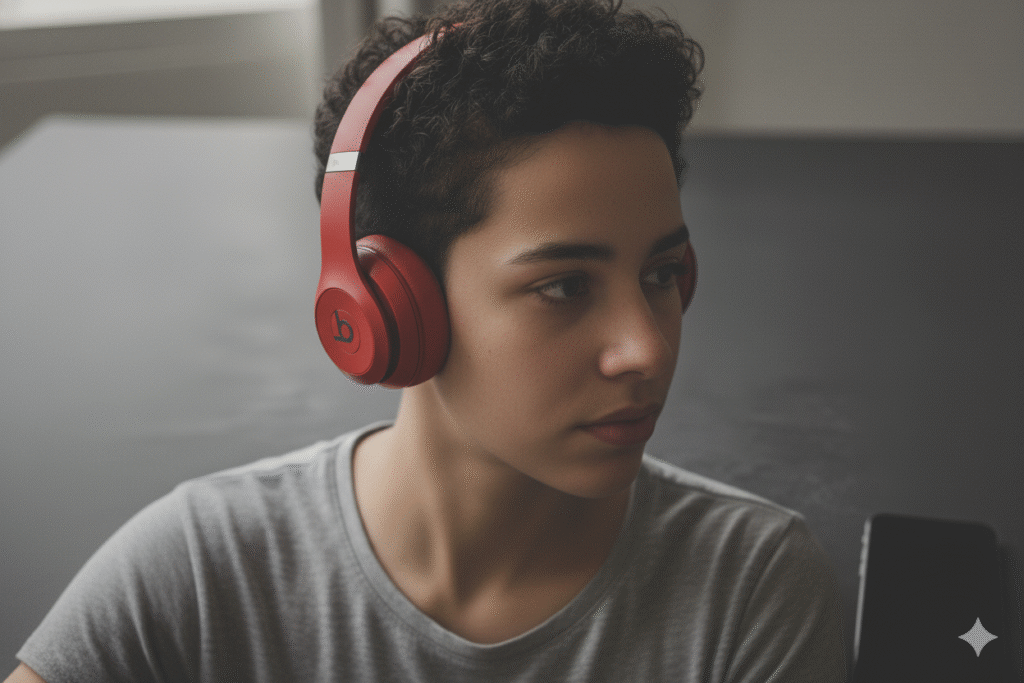
Sometimes Beats headphones begin to sound dull, as if a layer of fog has settled over the music. The vocals lose their sharpness, and the bass feels trapped instead of rich and deep. In most cases, the problem isn’t serious — it can come from dust, moisture, or loose Bluetooth settings.
Even earwax buildup or a bad audio file can distort the sound. Small issues like these slowly build up until every track feels off. Taking a few minutes to clean the speakers, check the connection, or reset the device often brings the crisp sound back, reminding how clear and powerful Beats are meant to be.
Common Causes of Muffled Sound in Beats
Dust or Earwax Blocking the Speaker Mesh
After weeks of use, fine dust or earwax can slowly settle over the speaker holes. The layer seems harmless at first, but it quietly dulls the sound until music starts losing its spark.
Moisture or Sweat Inside the Ear Cushions
During workouts or long wear, moisture can sneak into the ear pads. Once trapped, it dampens sound clarity. Letting them air-dry gently often restores the clean tone.
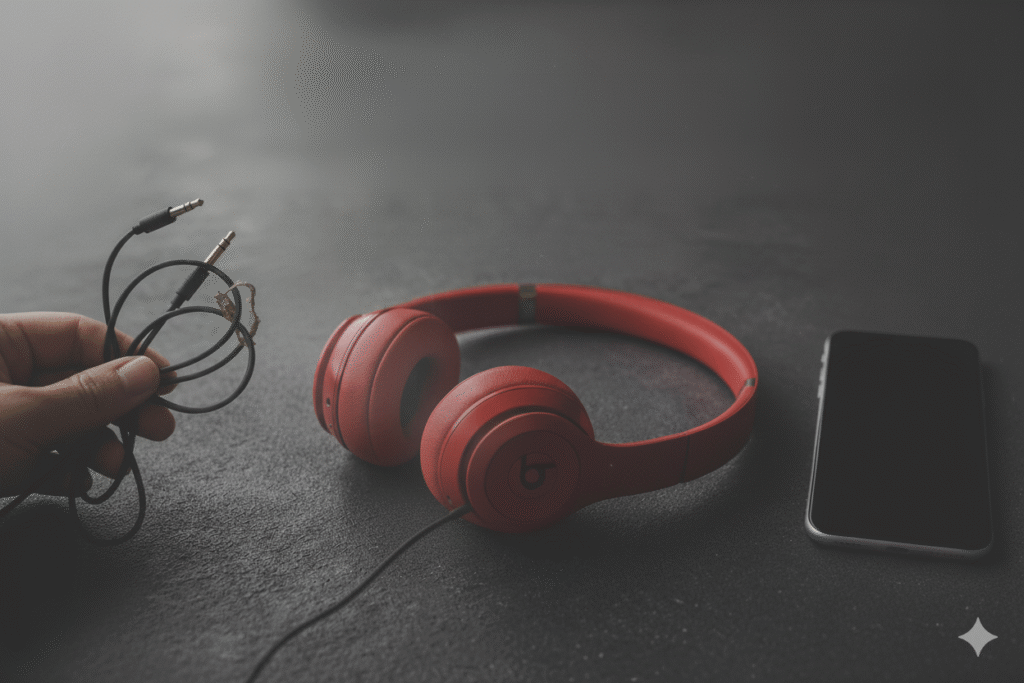
Loose or Damaged Audio Cable Connection
A half-plugged cable or bent connector can instantly make one side sound faint. Reconnecting or trying a new cable usually brings back full clarity.
Bluetooth Interference or Weak Signal
Wireless Beats rely heavily on a steady signal. When phones, routers, or other devices interrupt it, the music loses detail. Staying closer to the source helps keep it crisp.
Low-Quality Audio Files or Streaming Settings
Sometimes the headphones aren’t the problem at all. Compressed files or low streaming quality make every song feel flat, no matter the brand.
Outdated Firmware Affecting Sound Quality
Many users overlook firmware updates, but these updates fix small sound bugs. Ignoring them for too long can leave the audio distorted or weaker than usual.
Incorrect Equalizer or Audio Settings
Heavy bass or misadjusted EQ can bury vocals and treble. Resetting audio settings often reveals how good the Beats truly sound.
Worn-Out or Torn Ear Cushions
When the cushions lose shape or crack, the seal around the ear breaks. That missing seal lets outside noise in and makes the music feel distant.
Internal Speaker or Driver Damage
If the headphones have been dropped or exposed to moisture, internal parts may have shifted. Once a driver is damaged, the sound never feels the same again.
Software Glitches After Pairing or Updates
Occasionally, the problem sits in the device. A quick unpair, restart, and reconnect clears hidden software bugs that affect sound.
Fix It Fast – Step-by-Step Guide
Step 1: Give the Ear Cups a Careful Cleaning
Start by removing the ear cushions gently. Use a soft, slightly damp cloth to wipe away any dirt or wax on the mesh. Let everything dry completely before reattaching.
Step 2: Check the Connection
If using a cable, unplug it and look for bent or dusty connectors. Reinsert firmly or test another cable to rule out connection issues.
Step 3: Reconnect Bluetooth
For wireless Beats, unpair them from your phone or laptop. Restart both devices and pair them again. A fresh connection often clears sound distortions.
Step 4: Adjust Audio Settings
Go to your phone or computer’s sound settings. Set the equalizer to “Flat” or “Default.” Lowering the bass slightly can also bring clarity back.
Step 5: Update Firmware
Open the Beats app or connect to the official site to check for updates. Installing the latest version often fixes bugs that cause muffled sound.
Step 6: Let Moisture Evaporate
If the headphones were used during exercise, leave them in a dry place for a few hours. Never use heat; gentle air circulation works best.
Step 7: Test on a Different Device
Try the Beats with another phone, laptop, or tablet. If the sound clears, the issue lies in the original device’s audio settings, not the headphones.
Step 8: Replace Worn Ear Pads
If the cushions feel loose, thin, or cracked, replace them. New pads restore proper sealing and instantly improve sound depth and quality.
Step 9: Factory Reset the Headphones
As a last resort, reset the Beats to default settings. This removes hidden software glitches and brings performance back to normal.
Step 10: Seek Professional Help if the Sound Persists
If none of these steps work, the drivers inside may be damaged. Visit an authorized service center instead of attempting self-repair to avoid further issues.
How to Check for Physical Obstructions
Checking for physical obstructions is one of the simplest ways to fix muffled sound in Beats. Start by removing the ear cushions carefully and inspecting the speaker mesh. Dust, lint, or earwax often collects there over time, blocking the sound path.
Use a soft, dry brush or a gentle air blower to clear any buildup—never use sharp tools or excess moisture. Examine the inside of the cushions for trapped debris or moisture as well.
If the headphones are wired, check the plug and cable ends for dirt or damage. Once everything is clean and dry, reattach the pads firmly and test the sound again. Often, this small cleanup brings back the crisp, balanced audio Beats are known for.
The Role of Audio Settings and Equalization
- Audio settings control how different frequencies—bass, mid, and treble—blend together in your Beats.
- An overly boosted bass can drown vocals and details, making the sound feel muffled or heavy.
- Incorrect equalizer (EQ) presets on your phone or music app can distort clarity.
- Switching the EQ to “Flat” or “Balanced” restores a more natural and open sound.
- Some streaming apps apply sound enhancements that reduce quality—turn them off for a cleaner output.
- Resetting all sound settings often fixes hidden distortions or volume balancing issues.
- Understanding and adjusting EQ properly helps your Beats deliver the clear, studio-like sound they were designed for.
The Impact of Volume Levels on Sound Clarity
Sound quality in Beats headphones often changes with volume. When the volume is too low, fine details like vocals or instruments can disappear behind background noise. At very high levels, the drivers may struggle to keep up, leading to distortion, crackling, or muffled tones.
Consistently playing music too loud can also wear down the internal components over time. The ideal range sits somewhere in the middle—loud enough to hear every note clearly, yet soft enough to protect your ears and the hardware.
Keeping the sound balanced allows Beats to deliver the depth and clarity they’re built for, ensuring that every beat, lyric, and layer stays true to its original recording.
Troubleshooting Cable Damage in Wired Models
- Start by gently inspecting the entire cable for visible bends, frays, or cuts.
- Wiggle the cable near the jack and earcups — if sound drops or crackles, the wire might be loose inside.
- Try connecting your Beats to another device to confirm it’s not a port issue.
- Avoid wrapping the cable tightly; it strains the internal wires and weakens sound flow.
- Check if the connector tip is clean — dust or oxidation can block proper contact.
- If the cable is detachable, test a replacement one; if sound returns, the old cable is faulty.
- For non-detachable models, professional repair or replacement is often the safest solution.
Identifying Hardware Malfunctions in Beats
When Beats start sounding muffled and none of the usual fixes help, the issue may lie in the hardware itself. Internal components like the drivers, speaker mesh, or circuit board can wear out over time, especially with regular use or exposure to moisture.
Sometimes, a loose internal wire or damaged connector can interrupt the sound flow, leading to unclear or distorted audio. You can test by connecting your Beats to multiple devices—if the sound issue stays the same, it’s most likely a hardware fault.
Slight rattling sounds or one side being quieter than the other also point to physical damage. In such cases, professional repair or contacting Beats support is often the safest and most reliable way to restore sound quality.
Tips for Maintaining Optimal Sound Performance
- Clean the ear cushions and speaker mesh regularly to prevent dust buildup.
- Store Beats in a protective case when not in use to avoid moisture and impact damage.
- Avoid listening at full volume for long periods, as it can strain both ears and internal components.
- Keep firmware updated to ensure compatibility and better audio processing.
- Use only original charging cables and adapters to maintain battery health and circuit stability.
- Allow headphones to cool down after long listening sessions to prevent overheating.
- Check for loose cables or connectors before every use, especially with wired models.
- Gently unplug cables instead of pulling them by force.
- Keep Beats away from extreme temperatures or direct sunlight for long durations.
At Last
At last, when Beats begin to sound muffled, the issue often lies in small yet fixable details. Dust, damaged cables, outdated firmware, or incorrect sound settings can all affect clarity. Taking a few minutes to inspect, clean, and test can bring back the sharp sound these headphones are known for.
Regular maintenance not only extends their lifespan but also ensures consistent performance. Sometimes, the fix might be as simple as resetting or switching audio devices to pinpoint the problem. But when nothing works, reaching out for professional help is the best step forward.
Clear sound depends on care, and understanding how to protect your Beats helps you enjoy every note just as it was meant to be heard — crisp, balanced, and full of life.
FAQs
This often happens when dirt, earwax, or moisture blocks the speaker mesh, causing sound distortion. It can also occur if the headphones are exposed to sweat or humidity, affecting the internal drivers. Cleaning the ear cups gently with a dry cloth and allowing them to air out usually helps. If the issue continues, try resetting or updating the firmware to clear any internal glitches.
Low-quality sound usually points to incorrect audio settings, damaged cables, or Bluetooth interference. Check the equalizer on your connected device and ensure it’s set for balanced or flat audio. Also, test the Beats on another device to confirm the source isn’t the problem. Regular cleaning and proper storage can help maintain consistent sound quality.