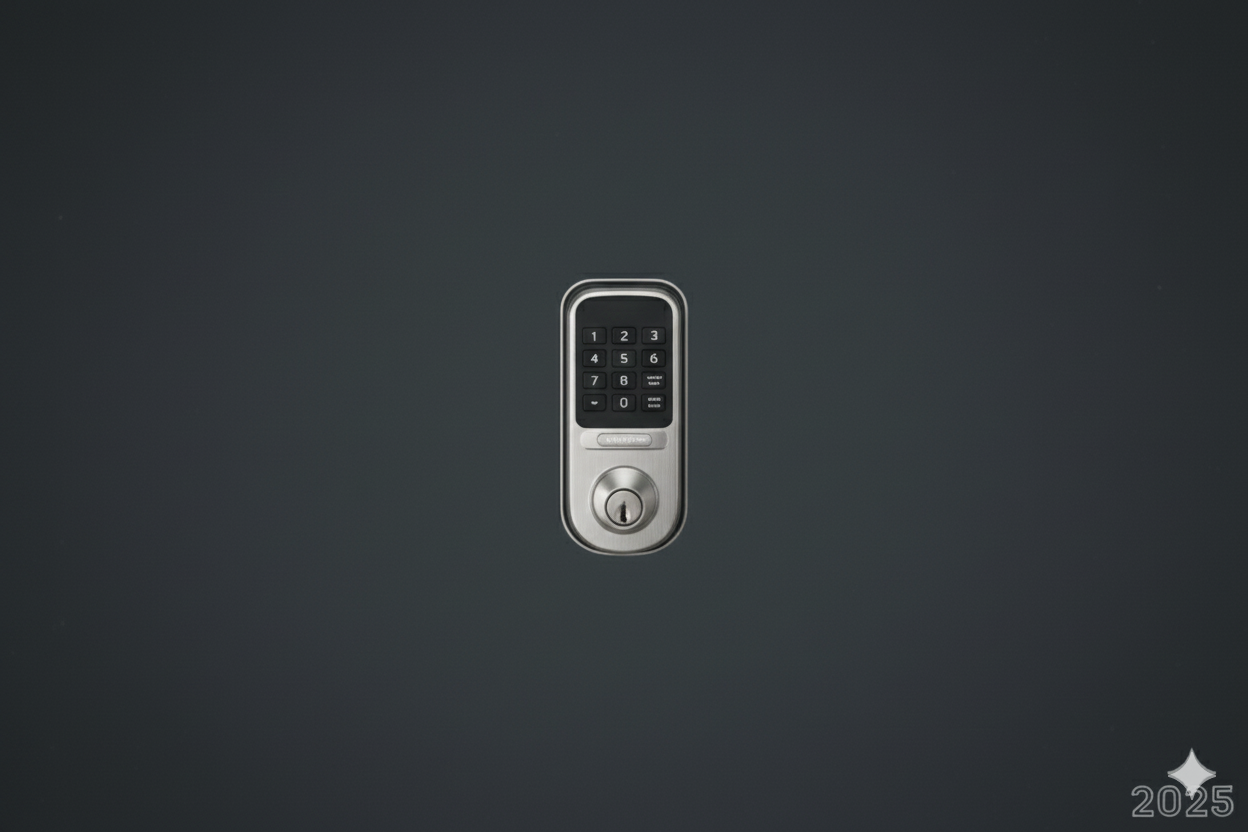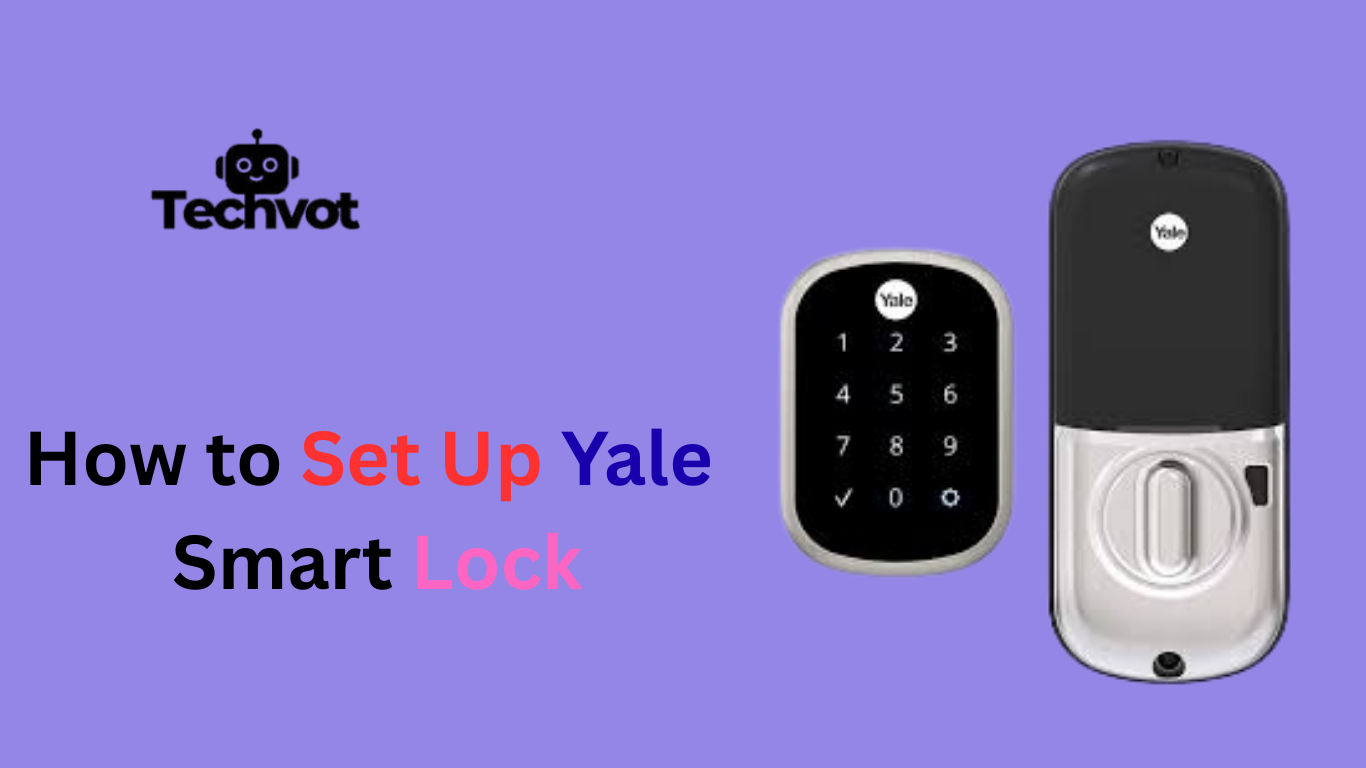
When a new Yale Smart Lock comes out of the box, the first thought that usually comes to mind is how complicated it might be to set up. The sleek design and advanced features can seem intimidating at first glance, almost as if only a professional locksmith could handle the process.
Yet, the truth is that the setup is far more approachable than it looks. With the right guidance, the lock can be installed and running in less time than expected. The process is about making life more convenient, secure, and modern without unnecessary hassle.
This step-by-step approach not only ensures proper installation but also helps avoid common mistakes that might cause frustration later. By the end, the lock feels less like a gadget and more like a natural part of daily living.
Are Yale Smart Locks Worth it
Choosing a Yale Smart Lock brings peace of mind and modern convenience to the front door. Built with secure encryption, tamper alerts, and backup power options, it guards against typical break-ins and lock failures. Keys or smartphone control mean hassle-free entry without fumbling for physical keys in rain or at dusk.
On the cost side, initial investment plus optional subscriptions for cloud features add up. Installation often requires a compatible door and sometimes new batteries—missed maintenance can lead to lockouts.
Despite that, reliability, strong warranty support, and seamless integration with home automation systems deliver significant value. For those prioritizing home security and tech-enabled comfort, it’s an investment that repays through daily ease and added protection.
What You Need Before You Set Up Your Yale Smart Lock
A compatible door with standard thickness
Not every door works with a smart lock. A standard-sized door ensures the lock fits securely without extra adjustments.
The Yale Smart Lock kit with all included components
The package usually comes with the lock body, mounting plate, screws, and installation guide. Double-check that nothing is missing before starting.
A screwdriver (usually Phillips head)
Most of the setup can be done with a basic screwdriver. This simple tool is essential for securing the lock in place.
Fresh batteries
Yale Smart Locks often run on AA batteries. Having new ones ready prevents interruptions during setup.
A stable WiFi connection
WiFi enables remote access and app-based control. Without it, the lock will only function manually.
The Yale Access App installed on a smartphone
This app is the key to unlocking features such as remote control, digital keys, and activity tracking.
Optional: Yale Connect WiFi Bridge
Adding this bridge allows access from anywhere in the world, not just within Bluetooth range.
Optional: Smart home hub
For users who want voice commands or advanced automation, integration with Alexa, Google Home, or Apple HomeKit is possible through a hub.
A few minutes of uninterrupted time
Setting up requires focus. A distraction-free setup ensures the process is smooth and frustration-free.
Installing the Yale Smart Lock on Your Door
Step 1: Prepare the Door
Make sure the door is aligned properly and the existing deadbolt works smoothly. Remove any old hardware if replacing a traditional lock.
Step 2: Check the Components
Lay out all parts from the Yale Smart Lock kit, including screws, mounting plate, lock body, and tailpiece adapter. Confirm everything is included.
Step 3: Install the Mounting Plate
Place the mounting plate on the inside of the door, feeding the tailpiece through the center hole. Secure it firmly with screws.
Step 4: Attach the Smart Lock
Align the lock body with the mounting plate. Fit the tailpiece into the back of the lock and snap it into place.
Step 5: Insert the Batteries
Open the battery compartment and insert fresh batteries. The lock should power on automatically, signaling that it’s ready.
Step 6: Connect to the App
Download and open the Yale Access App. Follow the on-screen instructions to pair the lock via Bluetooth or WiFi.
Step 7: Test the Lock
Lock and unlock the door through the app and keypad (if included). Make sure the bolt moves freely without resistance.
Step 8: Final Adjustments
Tighten any loose screws and confirm the door closes properly. Set up guest codes or digital keys if desired.
How to Set Up Yale Smart Lock: Initial Configuration Steps
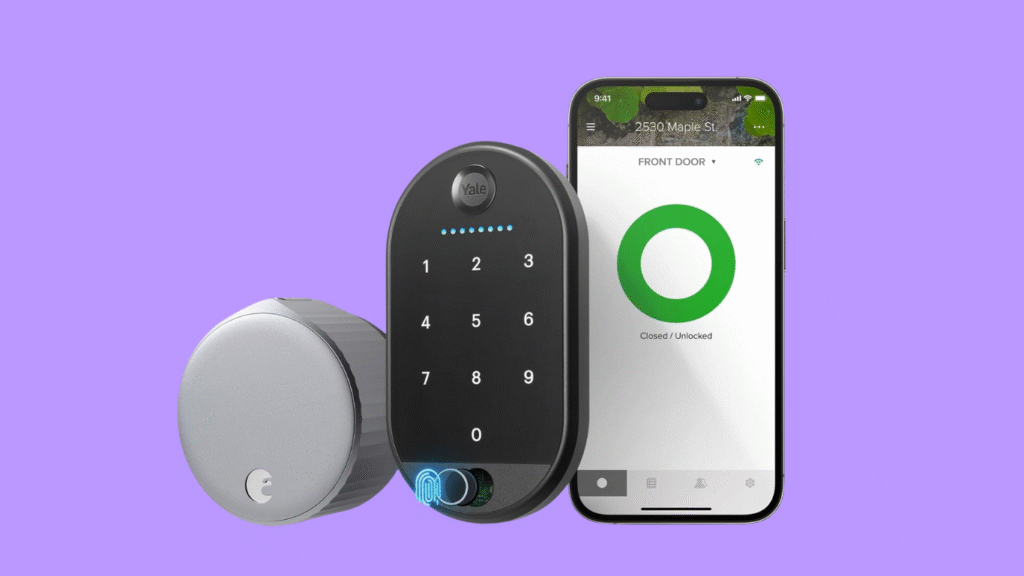
Once the Yale Smart Lock is installed on the door, the real convenience begins with the initial configuration. The process may sound technical at first, but it’s actually designed to be straightforward. Start by downloading the Yale Access App on a smartphone.
This app becomes the control center, allowing digital keys, activity tracking, and remote access if a WiFi bridge is added. After launching the app, create or log into a Yale account and follow the guided setup. The app will detect the lock through Bluetooth and prompt for connection.
Next, calibrate the lock so it understands the door’s movement. This ensures the bolt extends and retracts correctly without jamming. Once calibration is complete, it’s time to add user access. Guest codes or digital keys can be shared with trusted family members or friends.
If smart home integration is planned, connect the lock with Alexa, Google Assistant, or Apple HomeKit. These initial steps not only bring the lock online but also transform everyday entry into a secure, seamless experience.
Troubleshooting Common Issues After Setup
Lock not responding to app commands
This usually happens if Bluetooth is disabled or WiFi is unstable. Restarting the app and checking connectivity often resolves it.
Difficulty connecting to WiFi or Bluetooth
Ensure the Yale Connect WiFi Bridge is placed close enough to the lock and that the phone’s Bluetooth is turned on during setup.
Battery draining faster than expected
Using old or low-quality batteries can cause rapid drainage. Switching to fresh alkaline batteries usually fixes the issue.
Door not locking or unlocking smoothly
Misalignment of the door or deadbolt can create resistance. Adjusting the strike plate helps the bolt slide freely.
App failing to recognize the smart lock
Logging out and back into the Yale Access App or resetting the lock often refreshes the connection.
Trouble adding or managing access codes
Make sure the lock firmware is updated, as older versions may limit smooth code management.
Voice assistant not syncing with the lock
Integration requires correct linking in Alexa, Google, or HomeKit. Re-linking the account usually restores function.
Auto-lock or auto-unlock not working properly
These features rely on geofencing and phone location services. Enabling precise location tracking improves accuracy.
Firmware update errors
A weak WiFi signal can interrupt updates. Move closer to the router or restart the update process.
Keypad not registering input correctly
Check for dirt, moisture, or worn-out batteries. Cleaning the keypad or resetting the system often solves this.
Connecting Your Yale Smart Lock to Your Smart Home System
Linking a Yale Smart Lock with a smart home system adds another layer of convenience and control. Once the lock is paired through the Yale Access App, it can be integrated with platforms like Amazon Alexa, Google Assistant, or Apple HomeKit.
This connection allows voice commands to lock or unlock the door, as well as automation routines such as locking the door automatically when leaving home. Some setups may require a Yale Connect WiFi Bridge or a compatible smart hub for full functionality.
With integration complete, monitoring entry activity, setting schedules, and granting access becomes effortless. The lock doesn’t just secure the door—it becomes part of a connected ecosystem designed for safety and ease.
Customizing Access Codes and User Settings
One of the most useful features of a Yale Smart Lock is the ability to manage who enters the home and when. Through the Yale Access App, unique access codes can be created for different users, such as family members, friends, or service providers.
Each code can be customized with permissions, including permanent access, recurring schedules, or temporary time-limited entry. This makes it simple to allow a cleaner or guest inside without handing over a physical key.
Beyond codes, user settings can be adjusted to track activity, send alerts when someone unlocks the door, or revoke access instantly if needed. This flexibility turns the lock into more than just a security tool—it becomes a personalized system built around daily routines.
Maintaining Your Yale Smart Lock: Tips for Longevity
- Replace batteries regularly before they run out completely
- Use high-quality alkaline batteries for best performance
- Keep the lock firmware updated through the Yale Access App
- Clean the keypad and lock surface to avoid dirt buildup
- Check door alignment to prevent bolt resistance
- Avoid slamming the door, which can damage internal parts
- Test the lock periodically to ensure smooth operation
- Store backup physical keys (if model includes them) for emergencies
- Keep the Yale Connect WiFi Bridge in a stable location for consistent connectivity
- Review and update access codes regularly for security
- Protect the lock from excessive moisture or direct sunlight
- Tighten screws occasionally to maintain secure installation
At Last
Setting up and maintaining a Yale Smart Lock may seem complex at first, but the process is designed to be user-friendly and rewarding. From installation to configuration, every step adds both security and convenience to daily life.
Once connected to the Yale Access App and integrated into a smart home system, the lock becomes more than just an entry point—it transforms into a tool that adapts to personal routines.
With thoughtful maintenance, such as replacing batteries, cleaning surfaces, and updating firmware, the lock continues to perform reliably over time. In the end, a Yale Smart Lock is not just about technology; it is about creating peace of mind, ensuring that every entry and exit feels effortless and secure.
Open the Yale Access App or use the keypad, select “Add Code,” enter a 4–8 digit code, save it, and test immediately for proper function.
Remove batteries, hold the reset button until lights or sounds confirm reset, then reinstall batteries. This restores factory settings and requires re-pairing with the Yale Access App afterward.
While no device is completely hack-proof, Yale uses strong encryption. Risks can be minimized by updating firmware, using strong Wi-Fi passwords, unique codes, and monitoring access activity regularly.