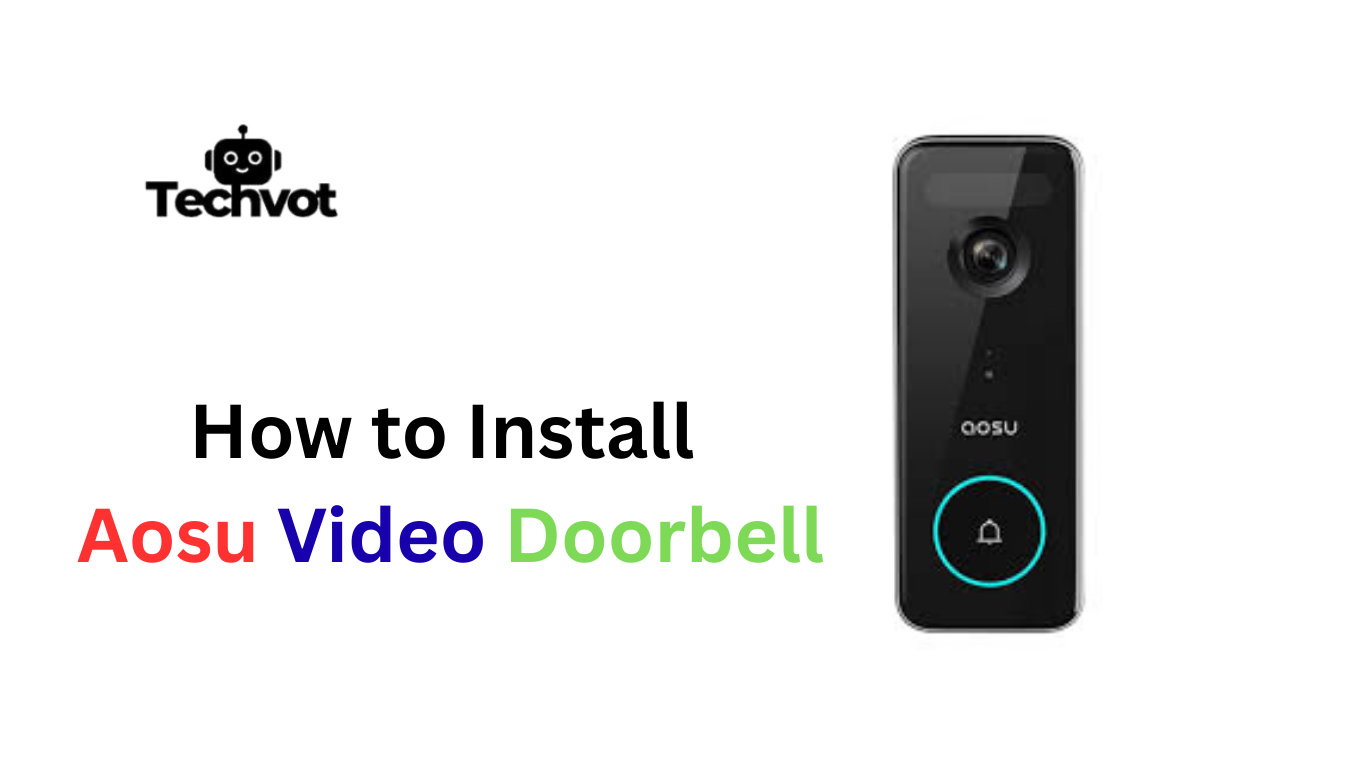
The first time an Aosu video doorbell camera arrives in its box, it may feel like a mix of excitement and uncertainty. This small device holds the power to change the way a home feels, giving both security and convenience at the same time.
At first glance, the process of installation might seem like a task only a professional could handle. But with clear steps and a bit of patience, setting it up becomes far simpler than expected. From mounting the camera securely to syncing it with the app, every stage plays a role in creating a smooth experience. Once installed, the camera quietly becomes part of daily life, offering peace of mind with every motion it captures.
Is Aosu Video Doorbell Worth it
Aosu video doorbell is a product that either has surprising value or minor trade-offs can be discovered with experience. Think of situations when you come home late at night, the smartphone has to light the way, and the doorbell camera is softly lightening the steps.
That step is not so tricky: the motion detection notifies before anybody knocks. Night vision captures all details, even in the case of a failure of the porch lights. Clear two-way sound enables a talk without opening the door. No complex wiring is required to install it; setup is easy and satisfying to most users.
The reverse can also be frustrating, as there are times when false alarms can be caused by heavy rain or the sound of rustling leaves. The fee for cloud storage subscriptions can become cumulative over time. All in all, compared to increased security and connectivity, the Aosu video doorbell provides more than most take it does, particularly to the people looking to get low-cost protection with 24/7 awareness.
Preparing for Installation: Tools and Requirements
Before starting the setup, it helps to have everything in place. A smooth installation depends on preparation, and the right tools make the process easier and faster.
Essential Tools
- A screwdriver for mounting screws
- A drill (if installing on hard surfaces like brick or concrete)
- Anchors and screws (usually provided in the box)
- A level to keep the doorbell straight
Requirements
- A stable Wi-Fi connection near the front door
- A smartphone with the Aosu app downloaded
- Fully charged battery or existing doorbell wiring (depending on the chosen setup)
Troubleshooting Common Installation Issues
Doorbell Not Powering On
Check whether the battery is fully charged or if the wiring is correctly connected. Loose wires or an uncharged battery are common causes.
Wi-Fi Connection Problems
If the doorbell fails to connect, move the router closer or use a Wi-Fi extender. Ensure the network password is entered correctly.
App Not Detecting Device
Restart the doorbell and the smartphone. Also, confirm Bluetooth and location services are enabled for initial pairing.
Video Feed Not Loading
Slow internet speeds can cause buffering. Test the Wi-Fi speed and consider upgrading the connection if needed.
Poor Audio Quality
Background noise or weak signals can interfere. Adjust microphone sensitivity in the app and ensure the router isn’t too far.
How to Install Aosu Video Doorbell Camera: Step-by-Step Guide
Step 1: Unbox and Check Contents
Start by opening the package and confirming all items are included. Look for the doorbell camera, mounting bracket, screws, anchors, charging cable, and instruction manual.
Step 2: Charge the Battery (If Wireless Setup)
Before installation, make sure the battery is fully charged. A complete charge ensures smooth setup and prevents interruptions.
Step 3: Choose the Mounting Location
Pick a spot near the front door where visitors can be clearly seen. Ensure the location is within Wi-Fi range for stable connection.
Step 4: Mark Drill Points
Hold the mounting bracket against the wall and mark the drill points with a pencil. Use a level to keep it straight.
Step 5: Drill and Secure the Bracket
Drill holes at the marked points, insert anchors if needed, and fasten the bracket with screws for a secure hold.
Step 6: Attach the Doorbell Camera
Slide the Aosu video doorbell onto the bracket until it clicks into place. Double-check it is firmly attached.
Step 7: Power On the Device
Turn on the camera by pressing the power button. If wired, connect it to existing doorbell wiring and test the power flow.
Step 8: Connect to Wi-Fi
Open the Aosu app on the smartphone, follow the prompts, and connect the doorbell to the home Wi-Fi network.
Step 9: Sync with the App
Scan the QR code displayed on the app with the doorbell camera to complete pairing. This step enables live video and notifications.
Step 10: Test the Doorbell
Ring the doorbell and check the live feed, audio quality, and motion detection. Adjust settings in the app for best performance.
Connecting the Aosu Doorbell to Wi-Fi
Connecting the Aosu doorbell to Wi-Fi is one of the most important steps in the setup process, as it ensures smooth video streaming and instant notifications. Begin by powering on the device and opening the Aosu app on a smartphone.
The app will guide through scanning a QR code on the screen to link the doorbell. Select the home Wi-Fi network, enter the correct password, and wait for confirmation. Make sure the router is within range to avoid weak signals. Once connected, the doorbell immediately syncs with the app, providing real-time monitoring and access to all its smart features.
Setting Up the Aosu Doorbell for Optimal Use
- Adjust the camera angle during installation to cover the entryway clearly.
- Enable motion detection in the app and fine-tune sensitivity to reduce false alerts.
- Set up custom notification preferences for motion, doorbell rings, and low battery alerts.
- Use the two-way audio feature to communicate with visitors without opening the door.
- Keep firmware updated through the app for the latest security and performance improvements.
- Test night vision mode to ensure clear footage in low-light conditions.
- Regularly check Wi-Fi strength near the doorbell for stable streaming and alerts.
Enhancing Security with Aosu Video Features
The Aosu video doorbell is more than a simple door chime; it acts as an extra set of eyes and ears for the home. With high-definition video, every detail at the front door is captured, from a visitor’s face to packages left behind.
Motion detection works around the clock, sending instant alerts when movement is noticed, even before the bell rings. Night vision ensures that security does not fade after sunset, offering clear images in complete darkness.
Two-way audio adds another layer of protection, allowing real-time conversations without opening the door. Together, these features create a reliable shield, enhancing everyday safety.
Maintenance Tips for Your Aosu Video Doorbell
- Clean the Camera Lens Regularly – Wipe the lens gently with a microfiber cloth to keep the video clear and sharp.
- Check Battery Health – Recharge or replace the battery on time to avoid sudden power loss.
- Inspect Mounting Bracket – Ensure the doorbell is securely fixed and hasn’t loosened over time.
- Update Firmware Frequently – Keep the device updated through the Aosu app for better security and performance.
- Test Wi-Fi Strength – Run occasional checks to confirm a strong, stable connection near the doorbell.
- Review Motion Settings – Adjust sensitivity to avoid unnecessary alerts while ensuring reliable detection.
- Protect from Extreme Weather – Use weatherproof covers or shields if the doorbell is directly exposed to harsh sunlight or heavy rain.
Last Words
Bringing the Aosu video doorbell into daily life feels like more than just adding a gadget; it becomes part of the home’s safety routine. From the very first installation to regular use, each feature plays a role in making security effortless.
Clear video, motion alerts, and two-way audio give constant awareness of who is at the door, while simple app controls keep everything within reach. Even small moments, like checking a package delivery or speaking to a visitor without opening the door, show its true value.
With proper setup and occasional maintenance, the Aosu video doorbell continues to perform reliably, offering peace of mind and a stronger sense of control over home security day after day.
FAQs
On average, the battery can last several months on a single charge, depending on usage, motion detection settings, and Wi-Fi strength.
Yes, it supports both battery-powered and wired setups, giving flexibility based on the home’s requirements.
Yes, it comes with infrared night vision, ensuring clear footage even in complete darkness.
The doorbell offers local storage options, but cloud storage may require a subscription for extended recording and backup.


