The process of replacing the batteries in a Blink camera is straightforward, and when performed correctly, your equipment will continue to operate without any delays. Blink cameras use extended lithium AA batteries, and although you don’t need to replace the batteries frequently, you will eventually notice that their performance is declining or you receive low-battery notifications.
The correct replacement procedure not only ensures that your camera works but also ensures its longevity. Switching batteries is a fast and straightforward process that many users fear will result in losing a recording, yet the process is actually easy.
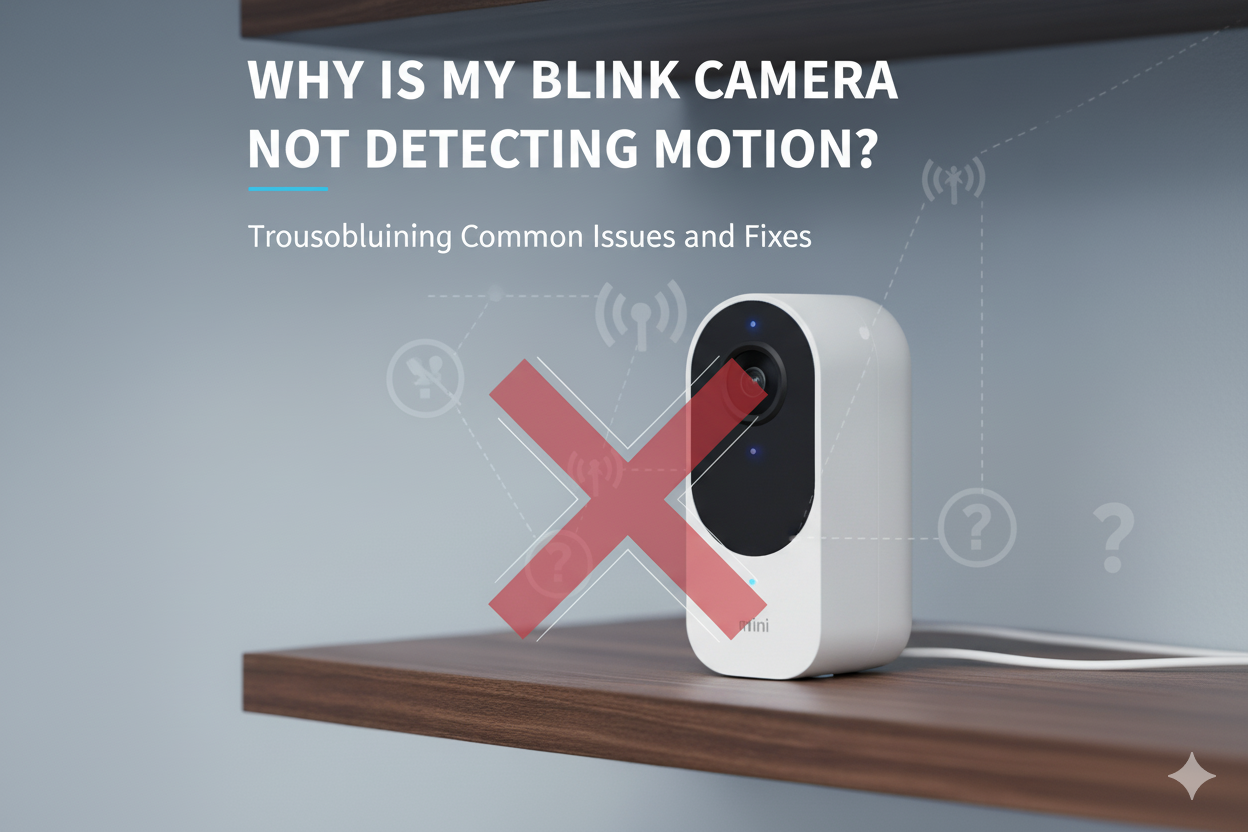
Bra batteries have a very short lifespan; therefore, this guide will walk you through the process of replacing the batteries in your Blink cameras safely and effectively, ensuring your home security is always on.
Tools Needed to Change Batteries in Blink Camera
One of the best things about Blink cameras is that you don’t need complicated tools to replace the batteries. In most cases, a few basic items are enough to get the job done quickly. Here’s what you’ll need:
- New Batteries: Blink cameras use two AA 1.5V lithium batteries. Make sure you purchase high-quality lithium options rather than standard alkaline, as they last much longer.
- Small Screwdriver (if required): Some Blink camera models may have a back cover secured with a tiny screw. Having a small Phillips-head screwdriver on hand can be helpful.
- Soft Cloth (optional): Before inserting new batteries, gently clean the battery compartment with a dry cloth to remove any dust or debris.
Step-by-Step Guide: How to Safely Remove Old Batteries
Removing old batteries from your Blink camera is simple, but doing it carefully ensures you don’t damage the device. Follow these steps for a safe replacement:
- Turn Off the Camera: Disconnect the camera from any mount and make sure it’s not actively recording.
- Locate the Battery Compartment: Depending on the model, the compartment is usually found at the back or bottom of the camera.
- Open the Back Cover: Slide or gently unscrew the cover using a small Phillips-head screwdriver if required.
- Carefully Remove the Batteries: Use your fingers to lift the old batteries out. Avoid prying with metal tools to prevent damage.
- Inspect the Compartment: Check for corrosion, dust, or leakage. If needed, gently clean with a dry cloth before adding new batteries.
Choosing the Right Replacement Batteries for Blink Cameras
The proper choice of batteries is crucial to ensure your Blink camera runs without any issues. Blink cameras are also designed to operate with AA 1.5V lithium batteries, which have a significantly longer lifespan compared to alkaline batteries.
Alkaline or rechargeable batteries are not recommended, as they will drain power quickly and can lead to performance issues. Instead, lithium batteries are designed to perform under varied temperatures and are therefore usable in both hot and cold conditions.
When purchasing replacements, ensure that they come from reliable brands to maintain the same quality and prevent leakage. Not only will investing in the right batteries increase the lifespan of your Blink camera, but it will also ensure that you replace your batteries infrequently, allowing you to live with peace of mind regarding your home security system.

How to Insert New Batteries in Blink Camera
- Disarm the system in the Blink app and remove the camera from its mount.
- Open the battery compartment by sliding the latch or removing the small screw with a Phillips head screwdriver.
- Inspect the compartment for dust or corrosion and wipe gently with a dry cloth if needed.
- Confirm you have two AA 1.5V lithium batteries, which are recommended for Blink cameras.
- Find the polarity diagram inside the compartment that shows plus and minus ends.
- Insert the first battery, matching the plus and minus markings exactly.
- Insert the second battery in the same way, ensuring both sit firmly in place.
- Close the compartment until it clicks or replace the screw without overtightening.
- Reattach the camera to its mount and open the Blink app.
- Refresh the device status, run a live view or motion test, and confirm normal operation.
Testing Your Blink Camera After Battery Replacement
After replacing the batteries in your Blink camera, test the equipment to ensure everything works properly. Get started by opening the Blink app on your phone and updating the device status. Providing that the batteries are correctly installed, the app is supposed to indicate the new battery level.
Then, a Live View test is conducted to ensure the camera is not experiencing video issues. You can also activate a motion detection test by passing in front of the camera and checking whether alerts are emitted to your app.
Lastly, ensure that night vision, audio, and recording functions are working correctly. The following quick checks help confirm that your Blink camera is operational and fully functioning, ensuring your home remains secure without interruption.
Extending Battery Life: Tips for Blink Camera Users
- Use Lithium Batteries: Always use AA 1.5V lithium batteries, as they last longer and handle temperature changes better than alkaline or rechargeable ones.
- Adjust Motion Sensitivity: Lowering sensitivity reduces unnecessary recordings and saves battery life.
- Optimize Recording Length: Keep video clips short, ideally 5–10 seconds, instead of longer durations.
- Limit Live View Usage: Frequent Live View streaming consumes significant power, so use it only when necessary.
- Update Firmware Regularly: Blink releases updates that improve efficiency; keeping your camera updated can help extend battery performance.
- Reduce Activity Zones: Limit motion detection to key areas instead of monitoring the entire field of view.
- Maintain Strong Wi-Fi Signal: A stable connection reduces the extra power used when reconnecting to weak signals.
Common Mistakes to Avoid When Changing Batteries
When replacing batteries in your Blink camera, small mistakes can lead to poor performance or even device damage. One common error is using alkaline or rechargeable batteries instead of the recommended AA 1.5V lithium type, which results in shorter life.
Another mistake is forcing batteries into the compartment, which may bend connectors. Users also sometimes forget to check polarity, leading to the camera not powering on. Skipping a quick clean of the compartment can allow dust or corrosion to build up over time. By avoiding these mistakes, you’ll ensure your Blink camera continues working efficiently after replacement.
Final Words
Replacing the batteries in a Blink camera is a quick and easy task; however, proper execution is crucial to ensure that your device remains uninterrupted. You can maintain your security system by swapping the old batteries with the correct AA 1.5V lithium batteries, removing them carefully, and testing the camera afterwards.
Simple actions, such as cleaning the battery and preventing overheating, can prevent frequent battery life suggestions and address performance-changing issues. Your Blink camera will last for months with adequate maintenance, providing you with constant protection for your home. A few minutes of attention guarantees long-lasting security.
FAQs
How do I open the back cover of my Blink camera?
Most Blink cameras have a latch or sliding mechanism on the back. Some models may require a small Phillips-head screwdriver to remove a securing screw.
How to remove Blink camera from mount?
Gently hold the camera and pull it upward or outward from the mount. Avoid twisting too hard to prevent damage to the mount or the device.
What type of batteries to use in a Blink camera?
Blink cameras work best with AA 1.5V lithium batteries. Alkaline or rechargeable batteries are not recommended as they drain faster and reduce performance.
How many AA batteries are in a Blink camera?
Every Blink camera model is powered by two AA lithium batteries, which usually last several months under normal usage conditions.